...
- Navigate to the Microsoft app registration portal at https://appsportal.devazure.microsoft.com/#blade/Microsoft_AAD_RegisteredApps/ApplicationsListBlade.
- Sign If necessary, sign in with your work Microsoft account.
- You should now be looking at your list of Microsoft apps, a screen that looks similar to this:
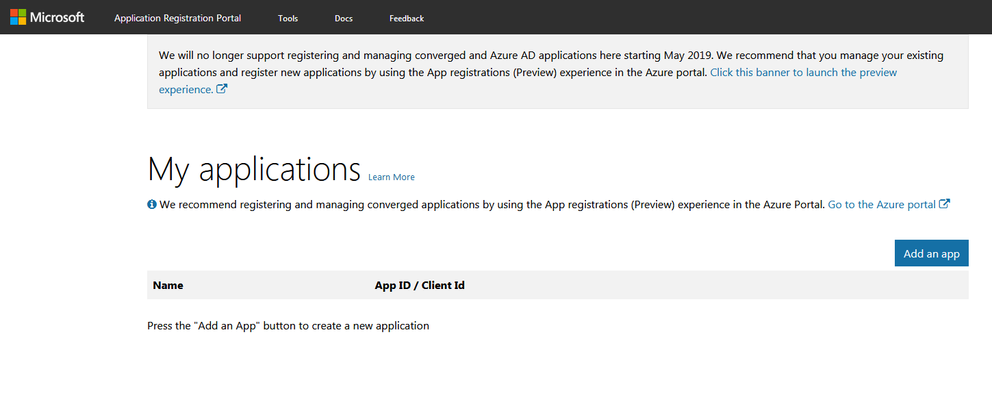 You will be registering this app through the Azure portal. Click on the gray banner at the top to launch the preview experience app registrations in the Azure portal.
You should now be looking at the Azure portal's app registration screen, which should look , a screen that looks similar to this: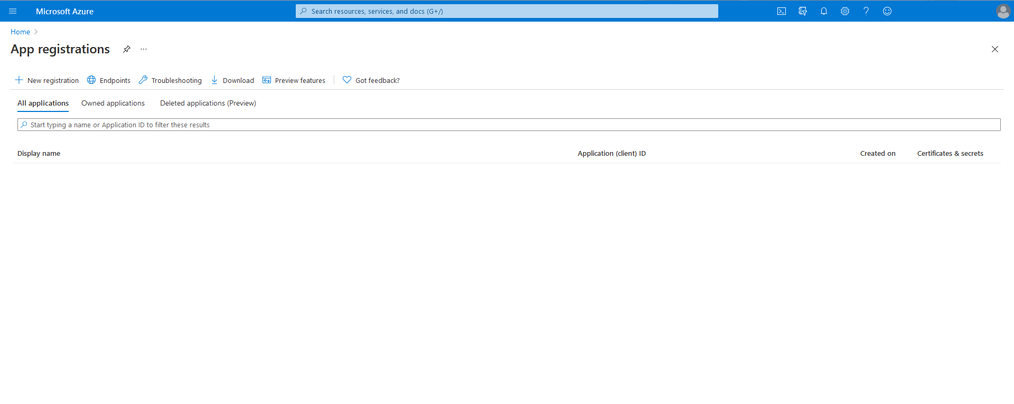
- Click the Register an application button.
- On the Register an application screen, enter a name for your new Microsoft app, and tick the appropriate radio button for you your use case in the Supported account types section.
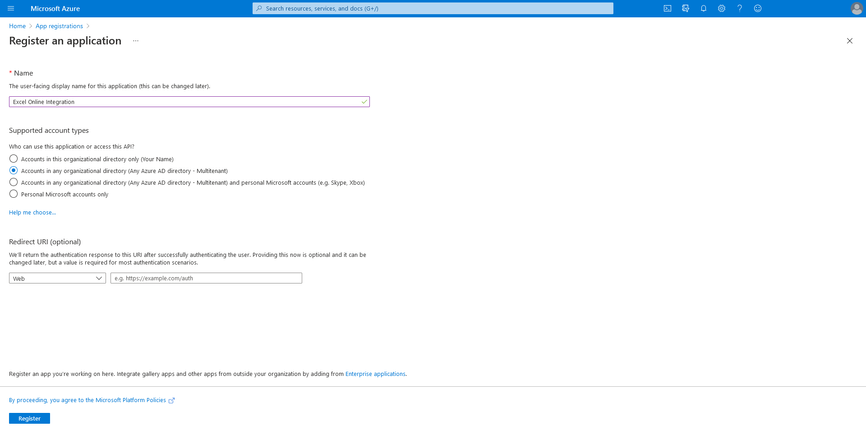
- Click the Register button at the bottom of the screen. After successful registration, you will be taken to the new app's management screen:
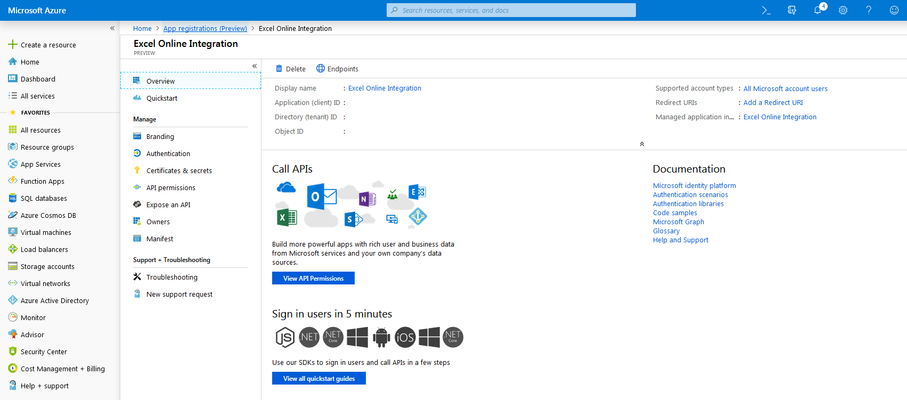
- Copy the Application (client) ID value from this screen to use for the Jira add-on configuration later.
- From the management screen's Manage menu, choose Certificates & secrets.

- Generate a new Client secret by clicking the New client secret button.
- Provide a description and expiration for your app's new client secret.
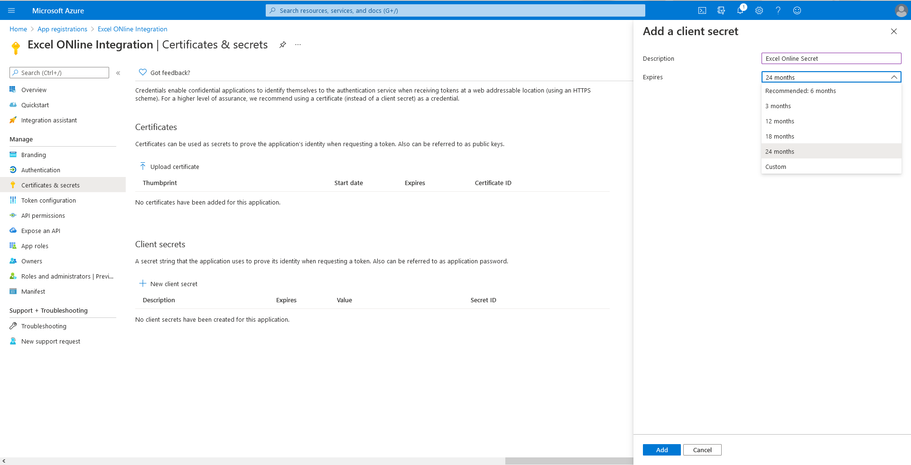
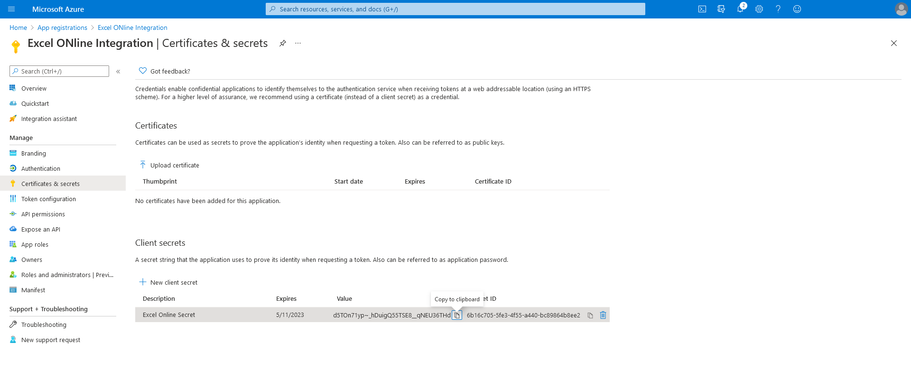
- Click the Add button. The Certificates & secrets screen will refresh with the new client secret.
- Copy the Value shown on this screen for the new client secret to use for the Jira add-on configuration later.
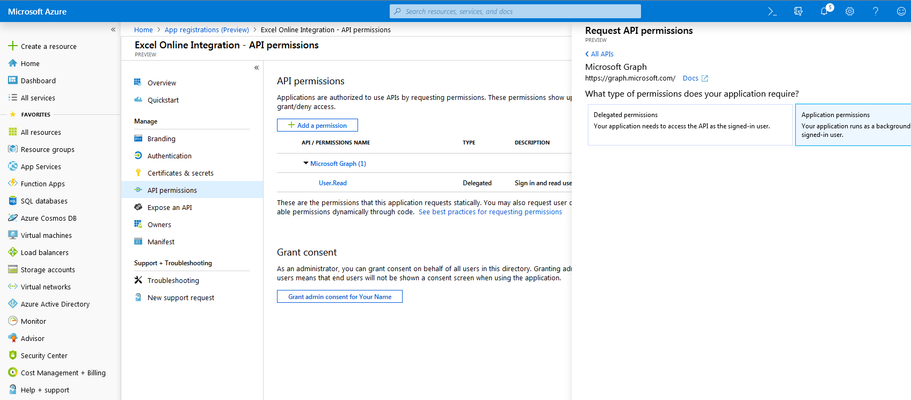
- From the management screen's Manage menu, choose API permissions.
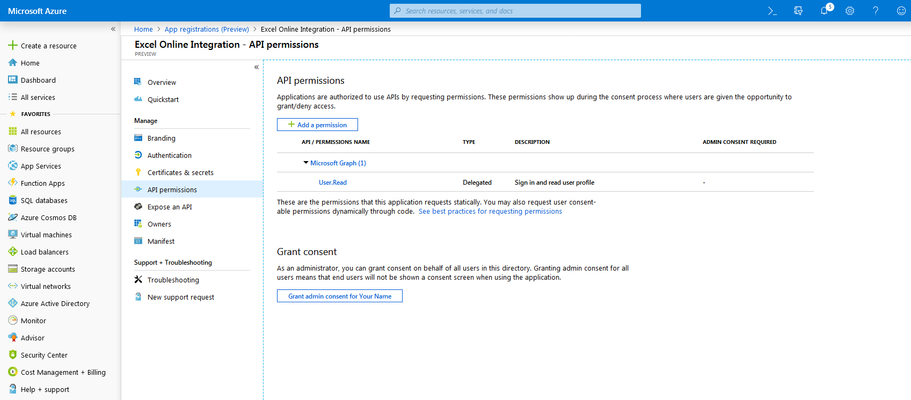
- Click the Add a permission button and choose the Microsoft Graph banner at the top.
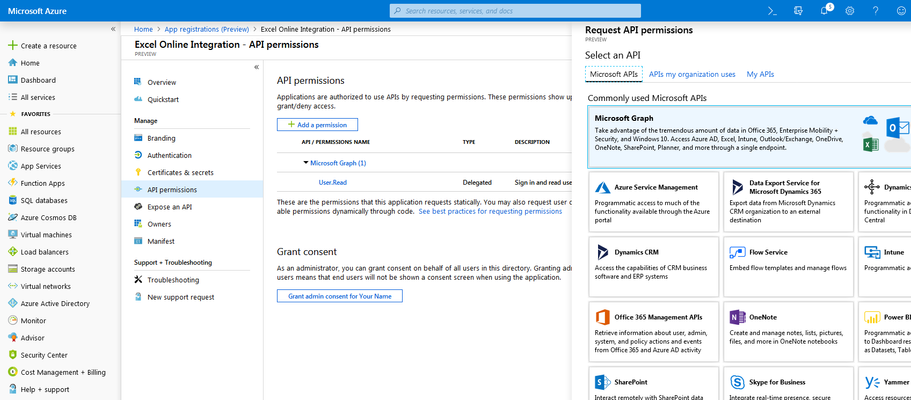
- Click the Application permissions banner on the right.
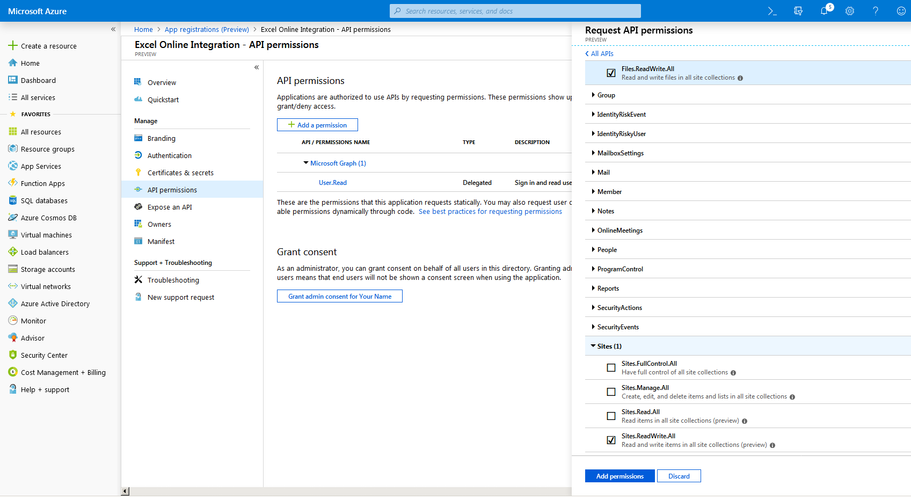
- Tick the checkboxes necessary to enable the Files.ReadWrite.All permission in the Files section, and the Sites.ReadWrite.All permission under the Sites section, then click the Add permissions button.
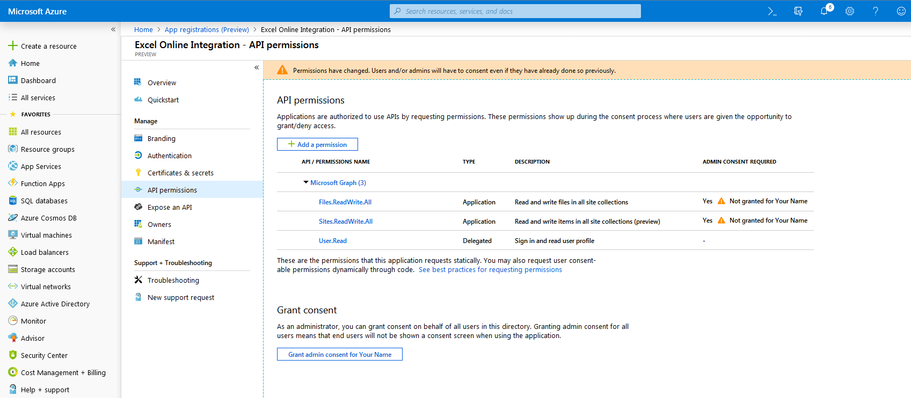
- Finally, after adding the necessary permissions, click the Grant admin consent for (Your Name) button under the Grant consent section on the API permissions screen and confirm the dialog.
...