Create Issue
Issues are created by hitting the + button anywhere in the application. Before the form is displayed the project and issue type have to be selected.
If you create most issues in the same project, you can select a default project on the Settings page. After that the project will default to this project but can still be changed.
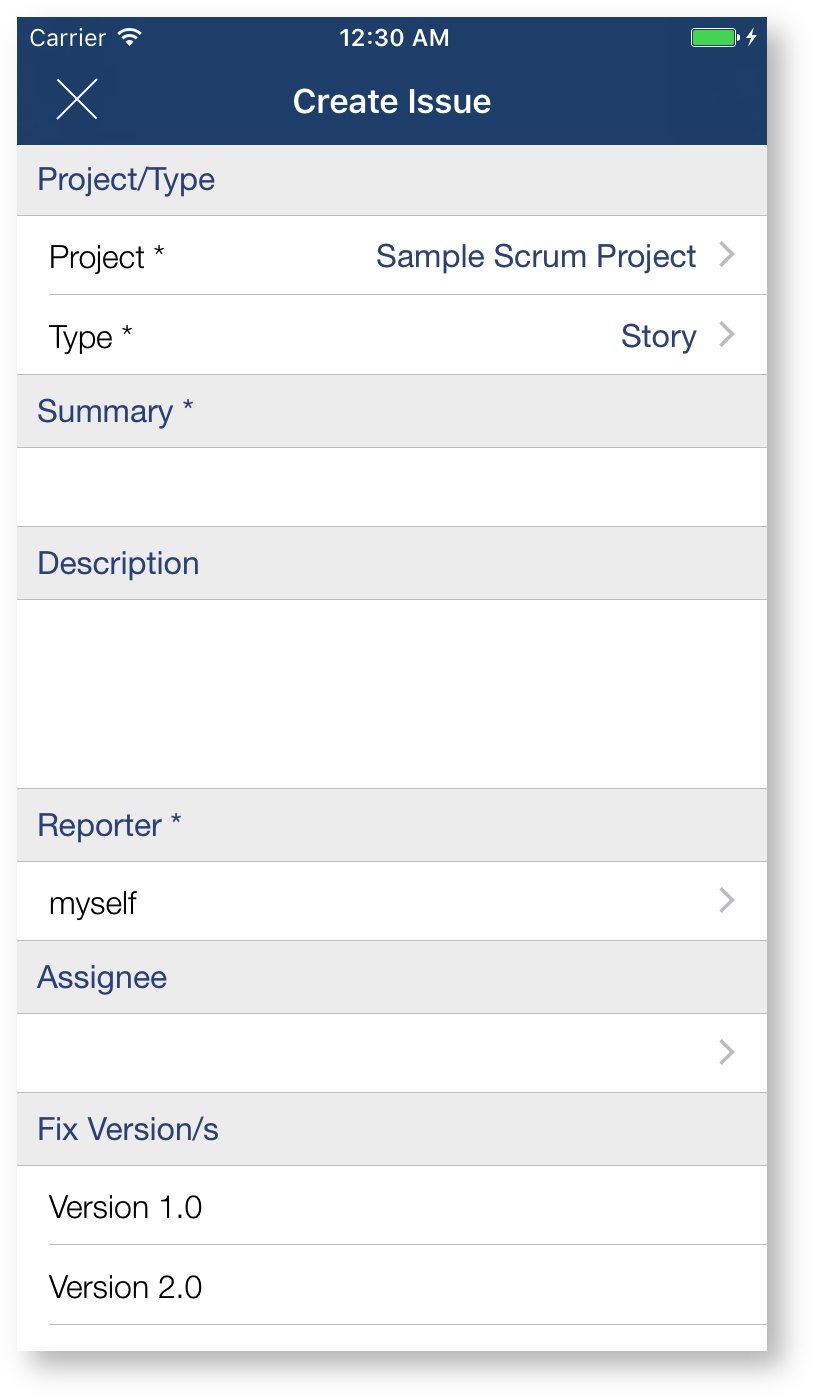
Once the project and issue type have been selected, the Jira issue form will be displayed. The fields are dependent on the issue type and its configuration. Required fields are marked with an asterisk * and need to be filled out for the form to be successfully submitted. If not all required fields are filled out a warning will appear when trying to submit.
During issue creation multiple attachments can be attached Once the the form is filled out, scroll down and hit the create button.The application will display a spinning wheel and will confirm the creation of a new issue by briefly showing the new Jira issue key.

If you use the Mobility for Jira add-on with the Mobility for Jira - Team app, the fields will be displayed in the correct order including section tabs and titles. If you are using the app without the add-on the field will be displayed in random order as provided by the Jira REST API.