...
- Log into your Jira instance as an admin.
- Click the administration gear in the top right corner and select Apps. The Find new apps screen loads.
- Locate Snowflake Integration.
- Click Free trial to download and install your add-on.
- You're all set! Click Close in the Installed and ready to go dialog.
Configure Snowflake
To export Jira issue data to Snowflake, you will need a database in Snowflake, user credentials to access that database, and your Snowflake account identifier.
If you do not already have a database for exports, create one in Snowflake by following the steps below.
...
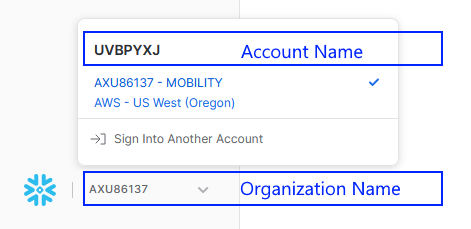
Finally, you will need your Snowflake account identifier. The preferred method of identifying your account is the format <orgname>-<account_name>. This information can be found in the user drop down menu at the top right bottom left of Snowflake. Click on your username the menu and make a note of the your organization name and account identifier as shown below: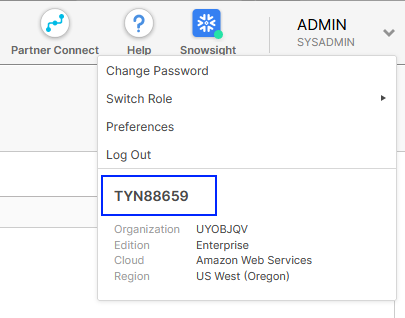
If you are having trouble finding the necessary identifiers, please refer to the Snowflake documentation.
With a database, schema, user credentials, and account identifier, you're ready to move on to the next steps and configure the Jira add-on.
...
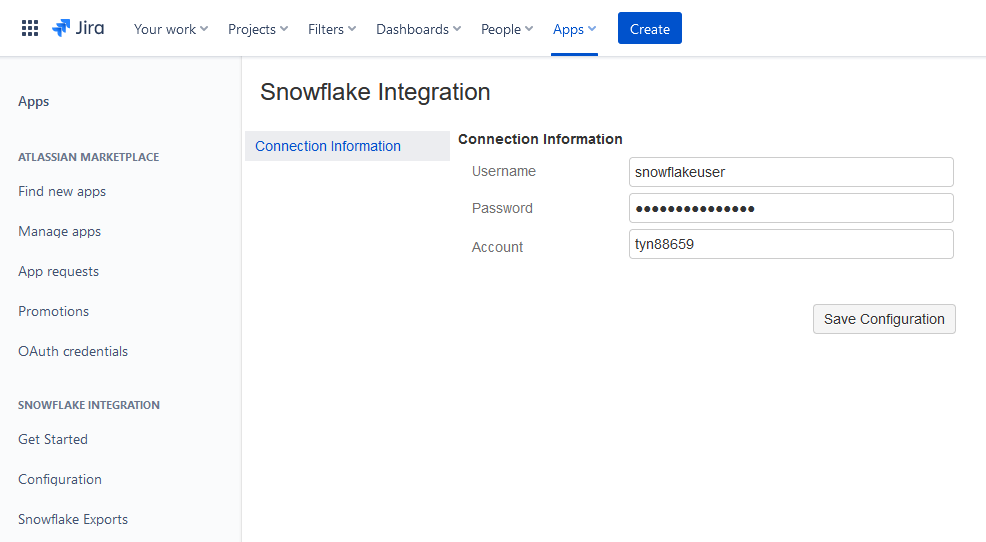
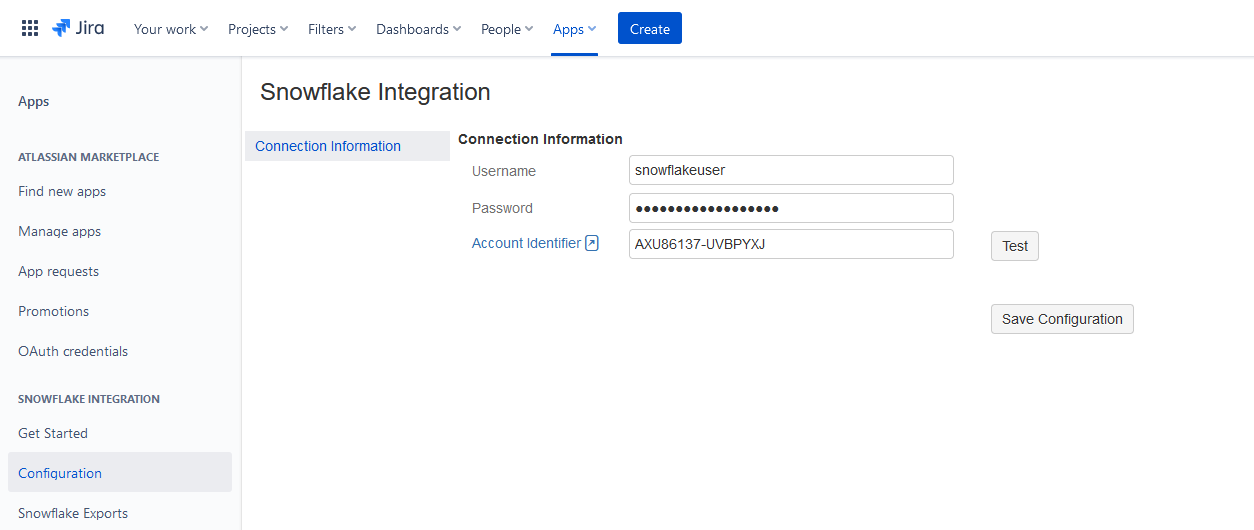
Now you can enter the credentials and account information from the Configure Snowflake steps.When you are finished, click the Test button to confirm your connection information is correct. If the test fails, return to Snowflake and confirm your user has the necessary permissions. If you have any network policies in place in Snowflake, make sure you have whitelisted the AWS infrastructure IP addresses. If the test passes, click the Save Configuration button.
Now that setup is complete, continue to the Jira Add-On Configuration page for more information on configuring the add-on.