...
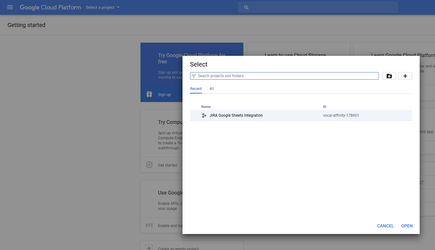
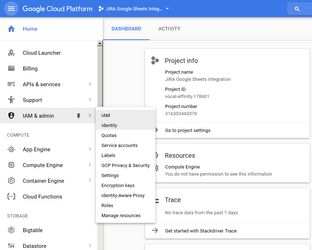
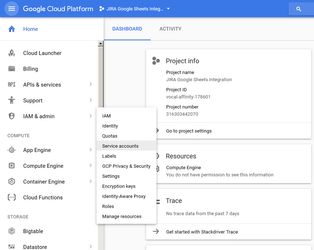
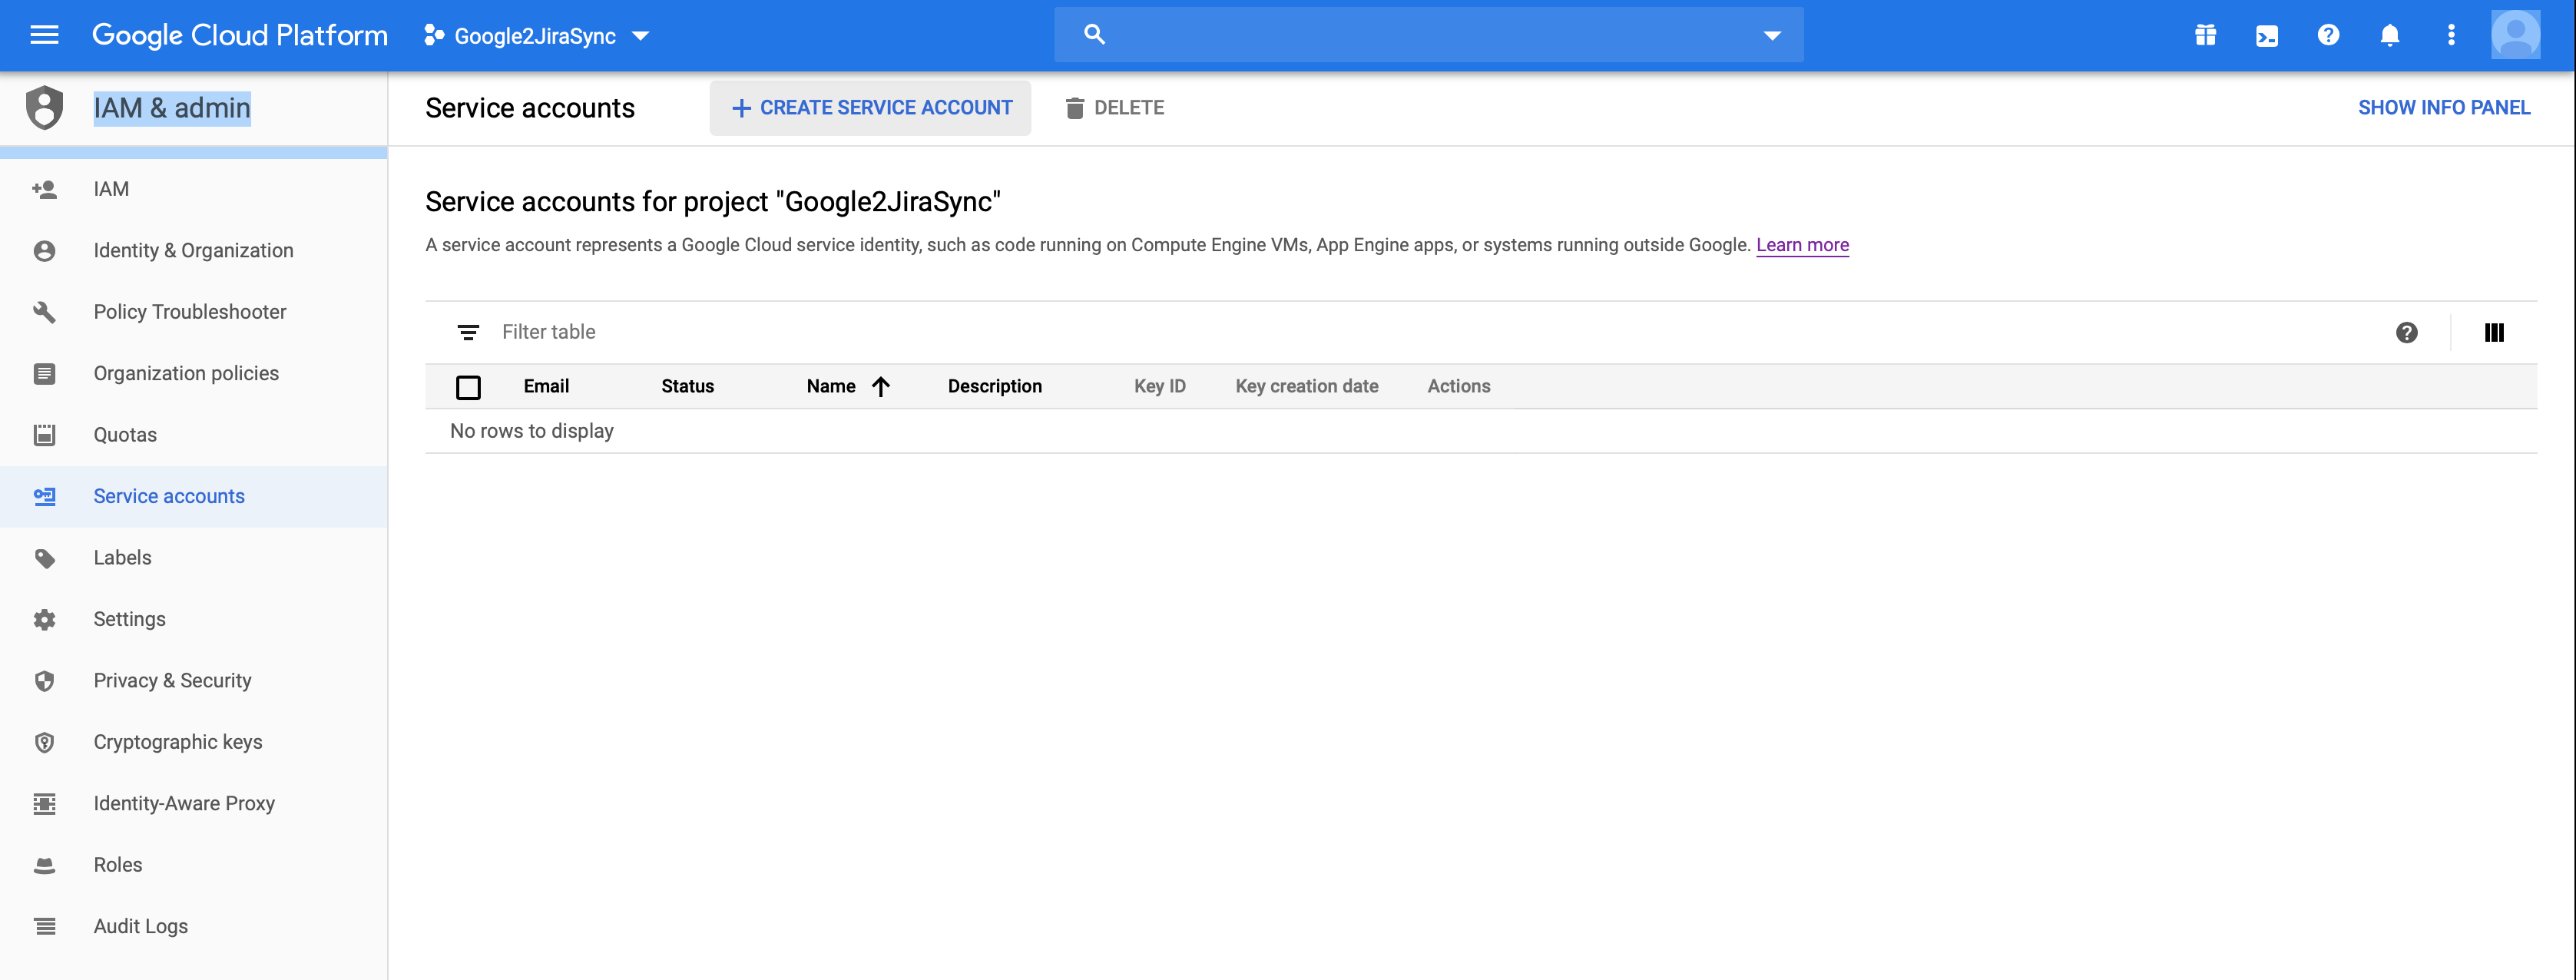
Create Now create a Google API Service Account and associate it with the project created above. When creating the Click the Create Service Account button at the top of the screen to start the creation process.
On the Create service account screen that is displayed, provide a name for your service account, give it a Role of Project/Owner. When you tick Furnish a new private key, make sure to keep the default JSON format. After confirming these selections, you’ll and a description. These values should accurately describe what the account will do, but are not critically important. When you are finished, click the Create button at the bottom of the screen to move the service account grants screen.

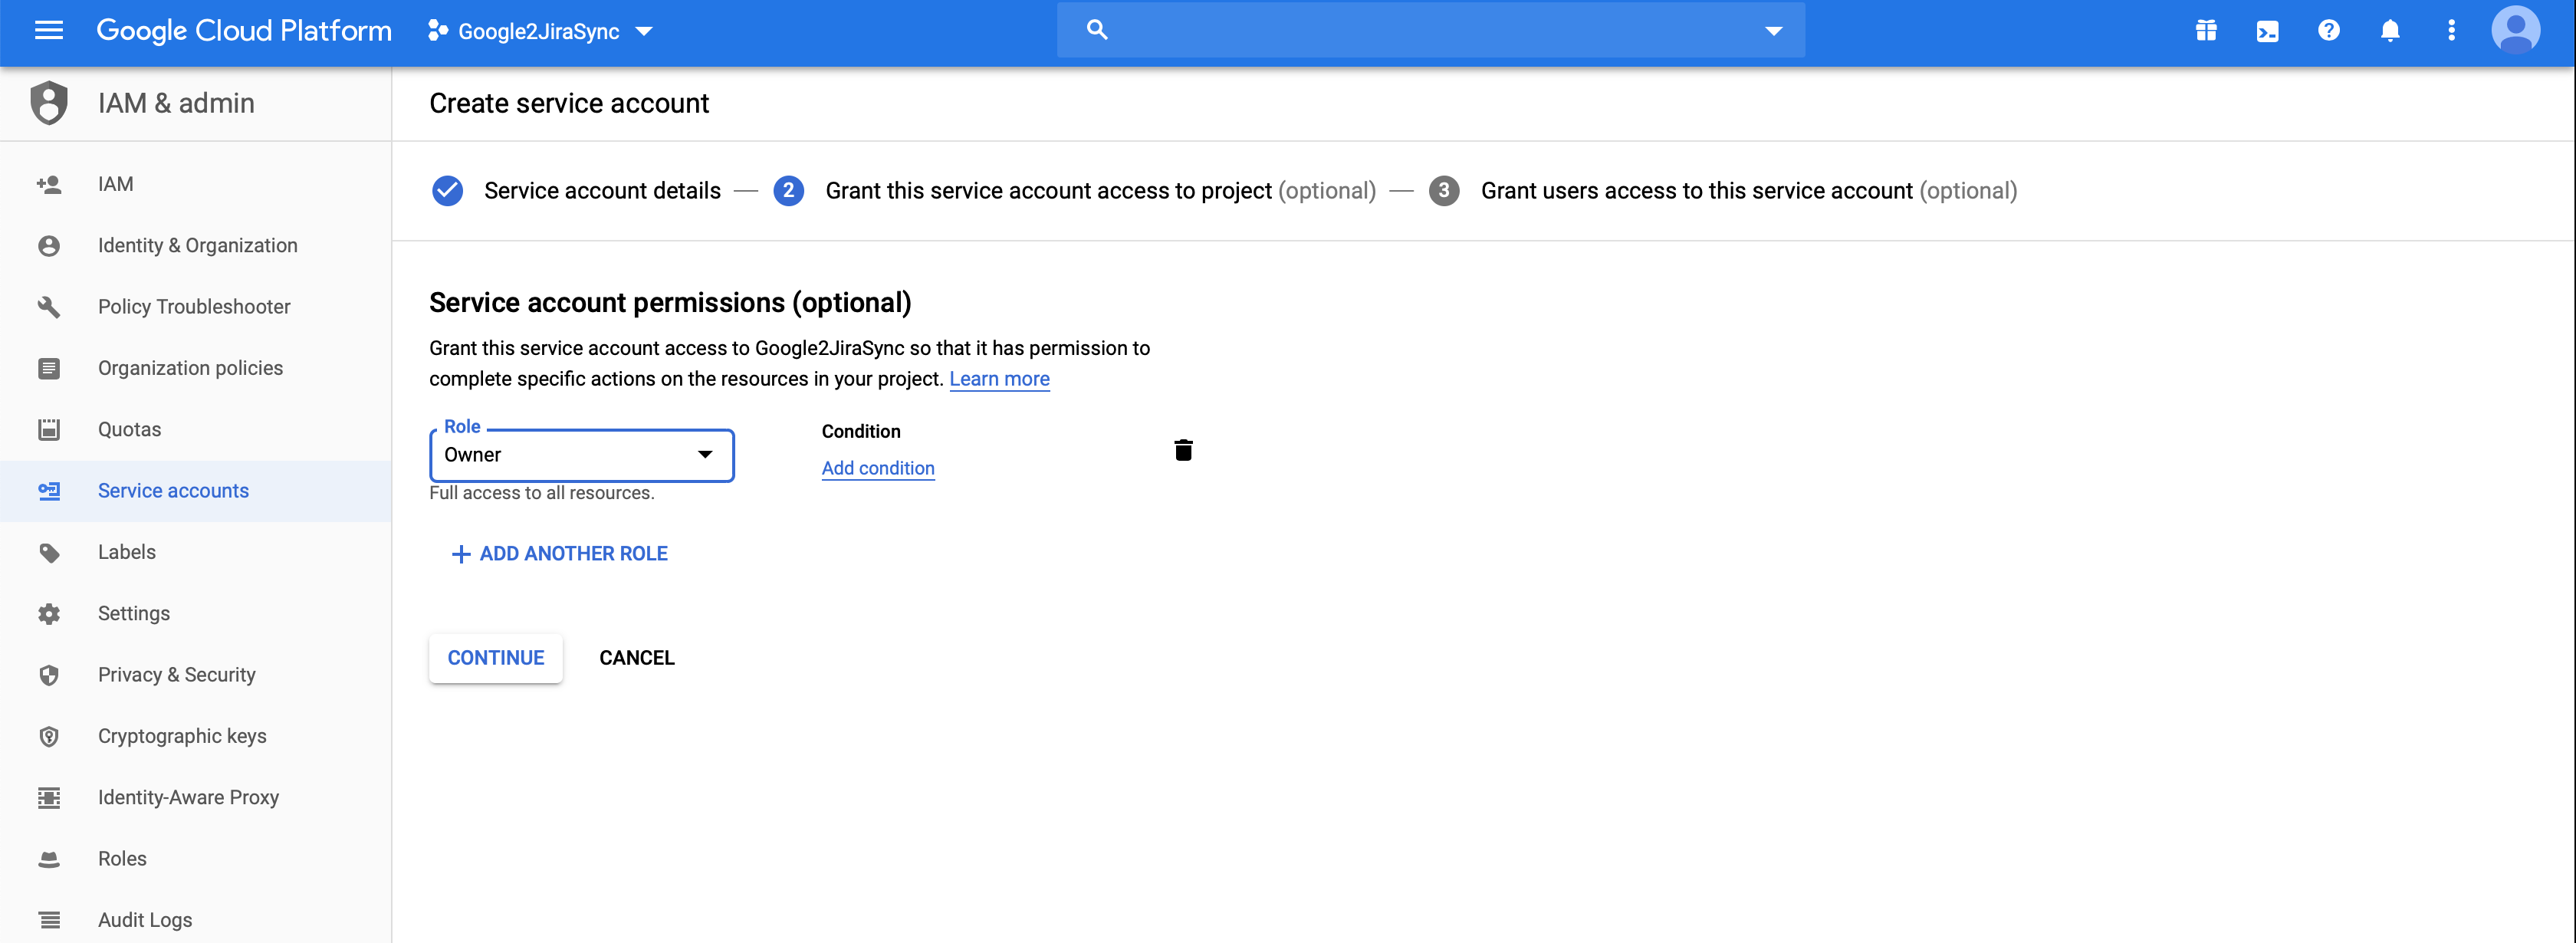
On the next screen, click in the Select a role area to display the role selection dialog. Give your new service account a role of Project->Owner.
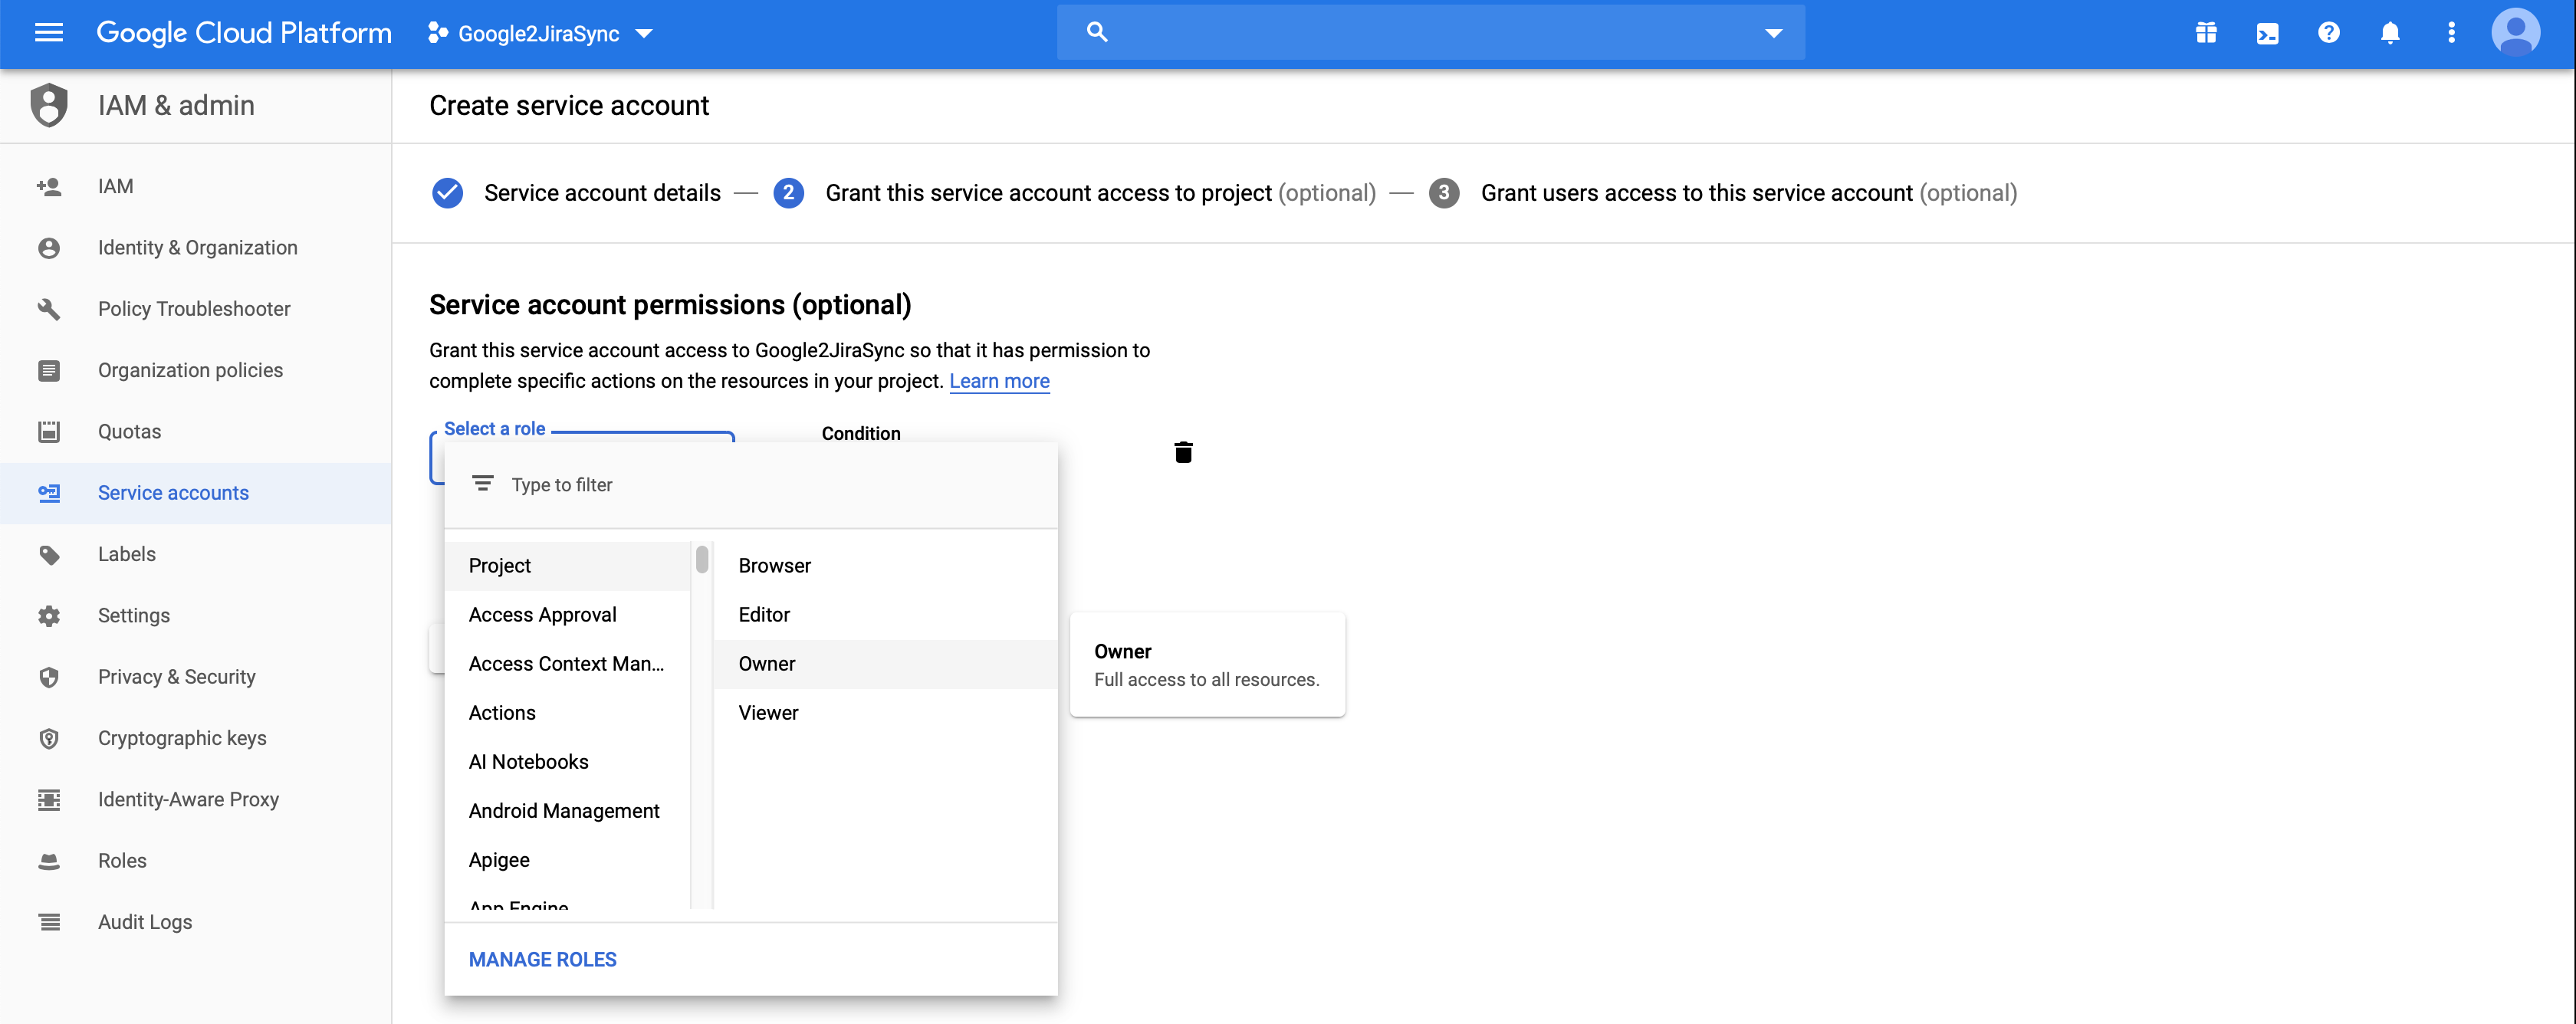
After selecting the appropriate role, click on the Continue button at the bottom of the screen to move to the user access grants screen.
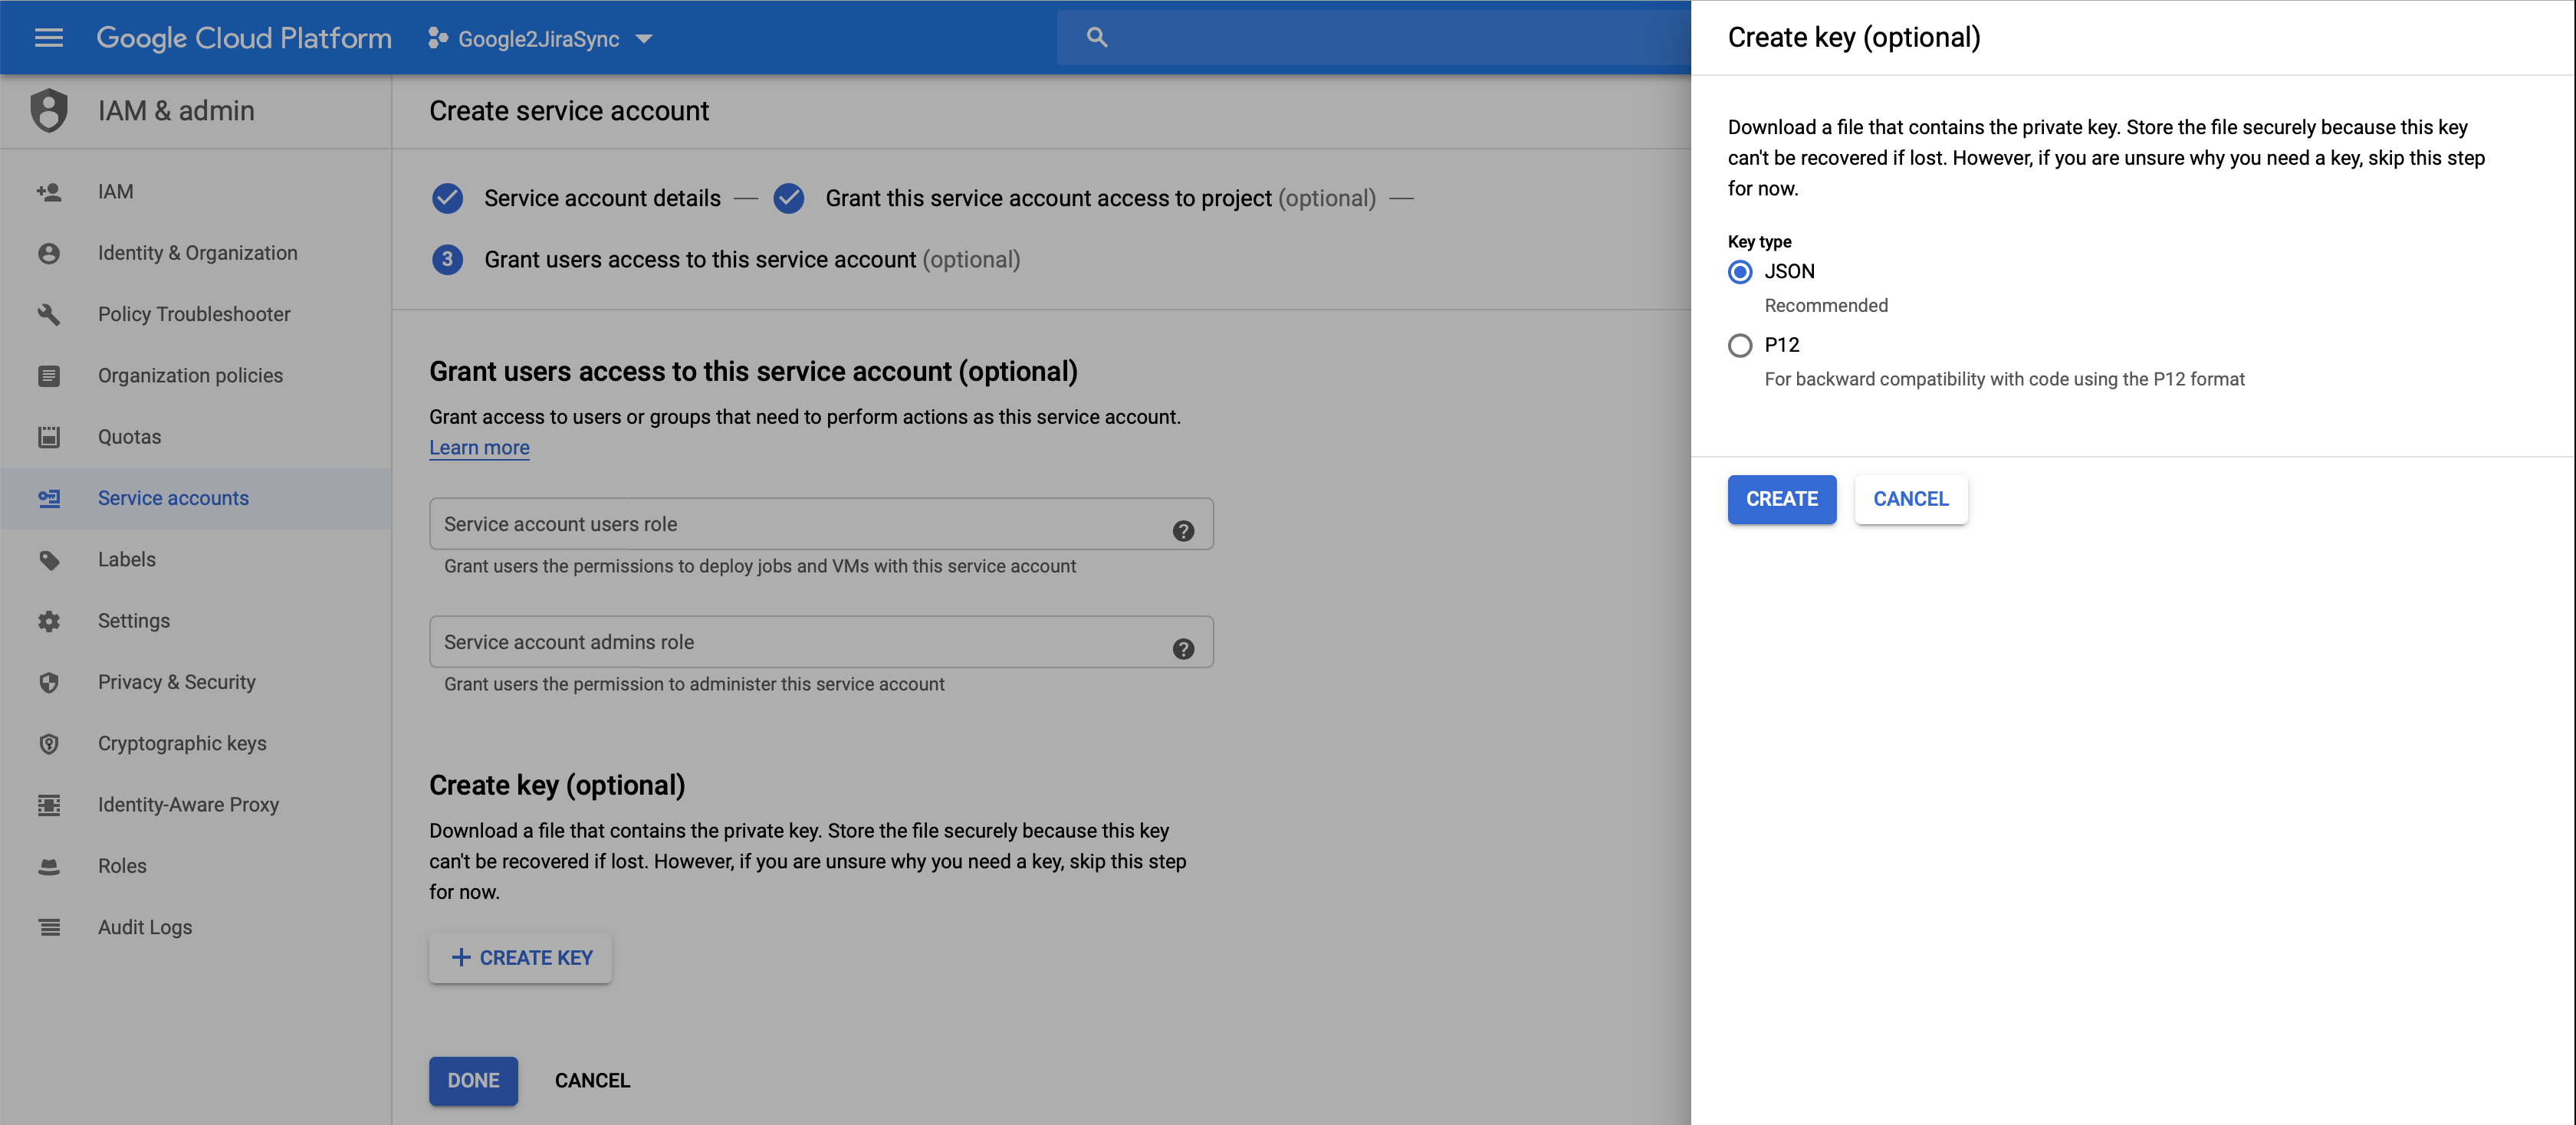
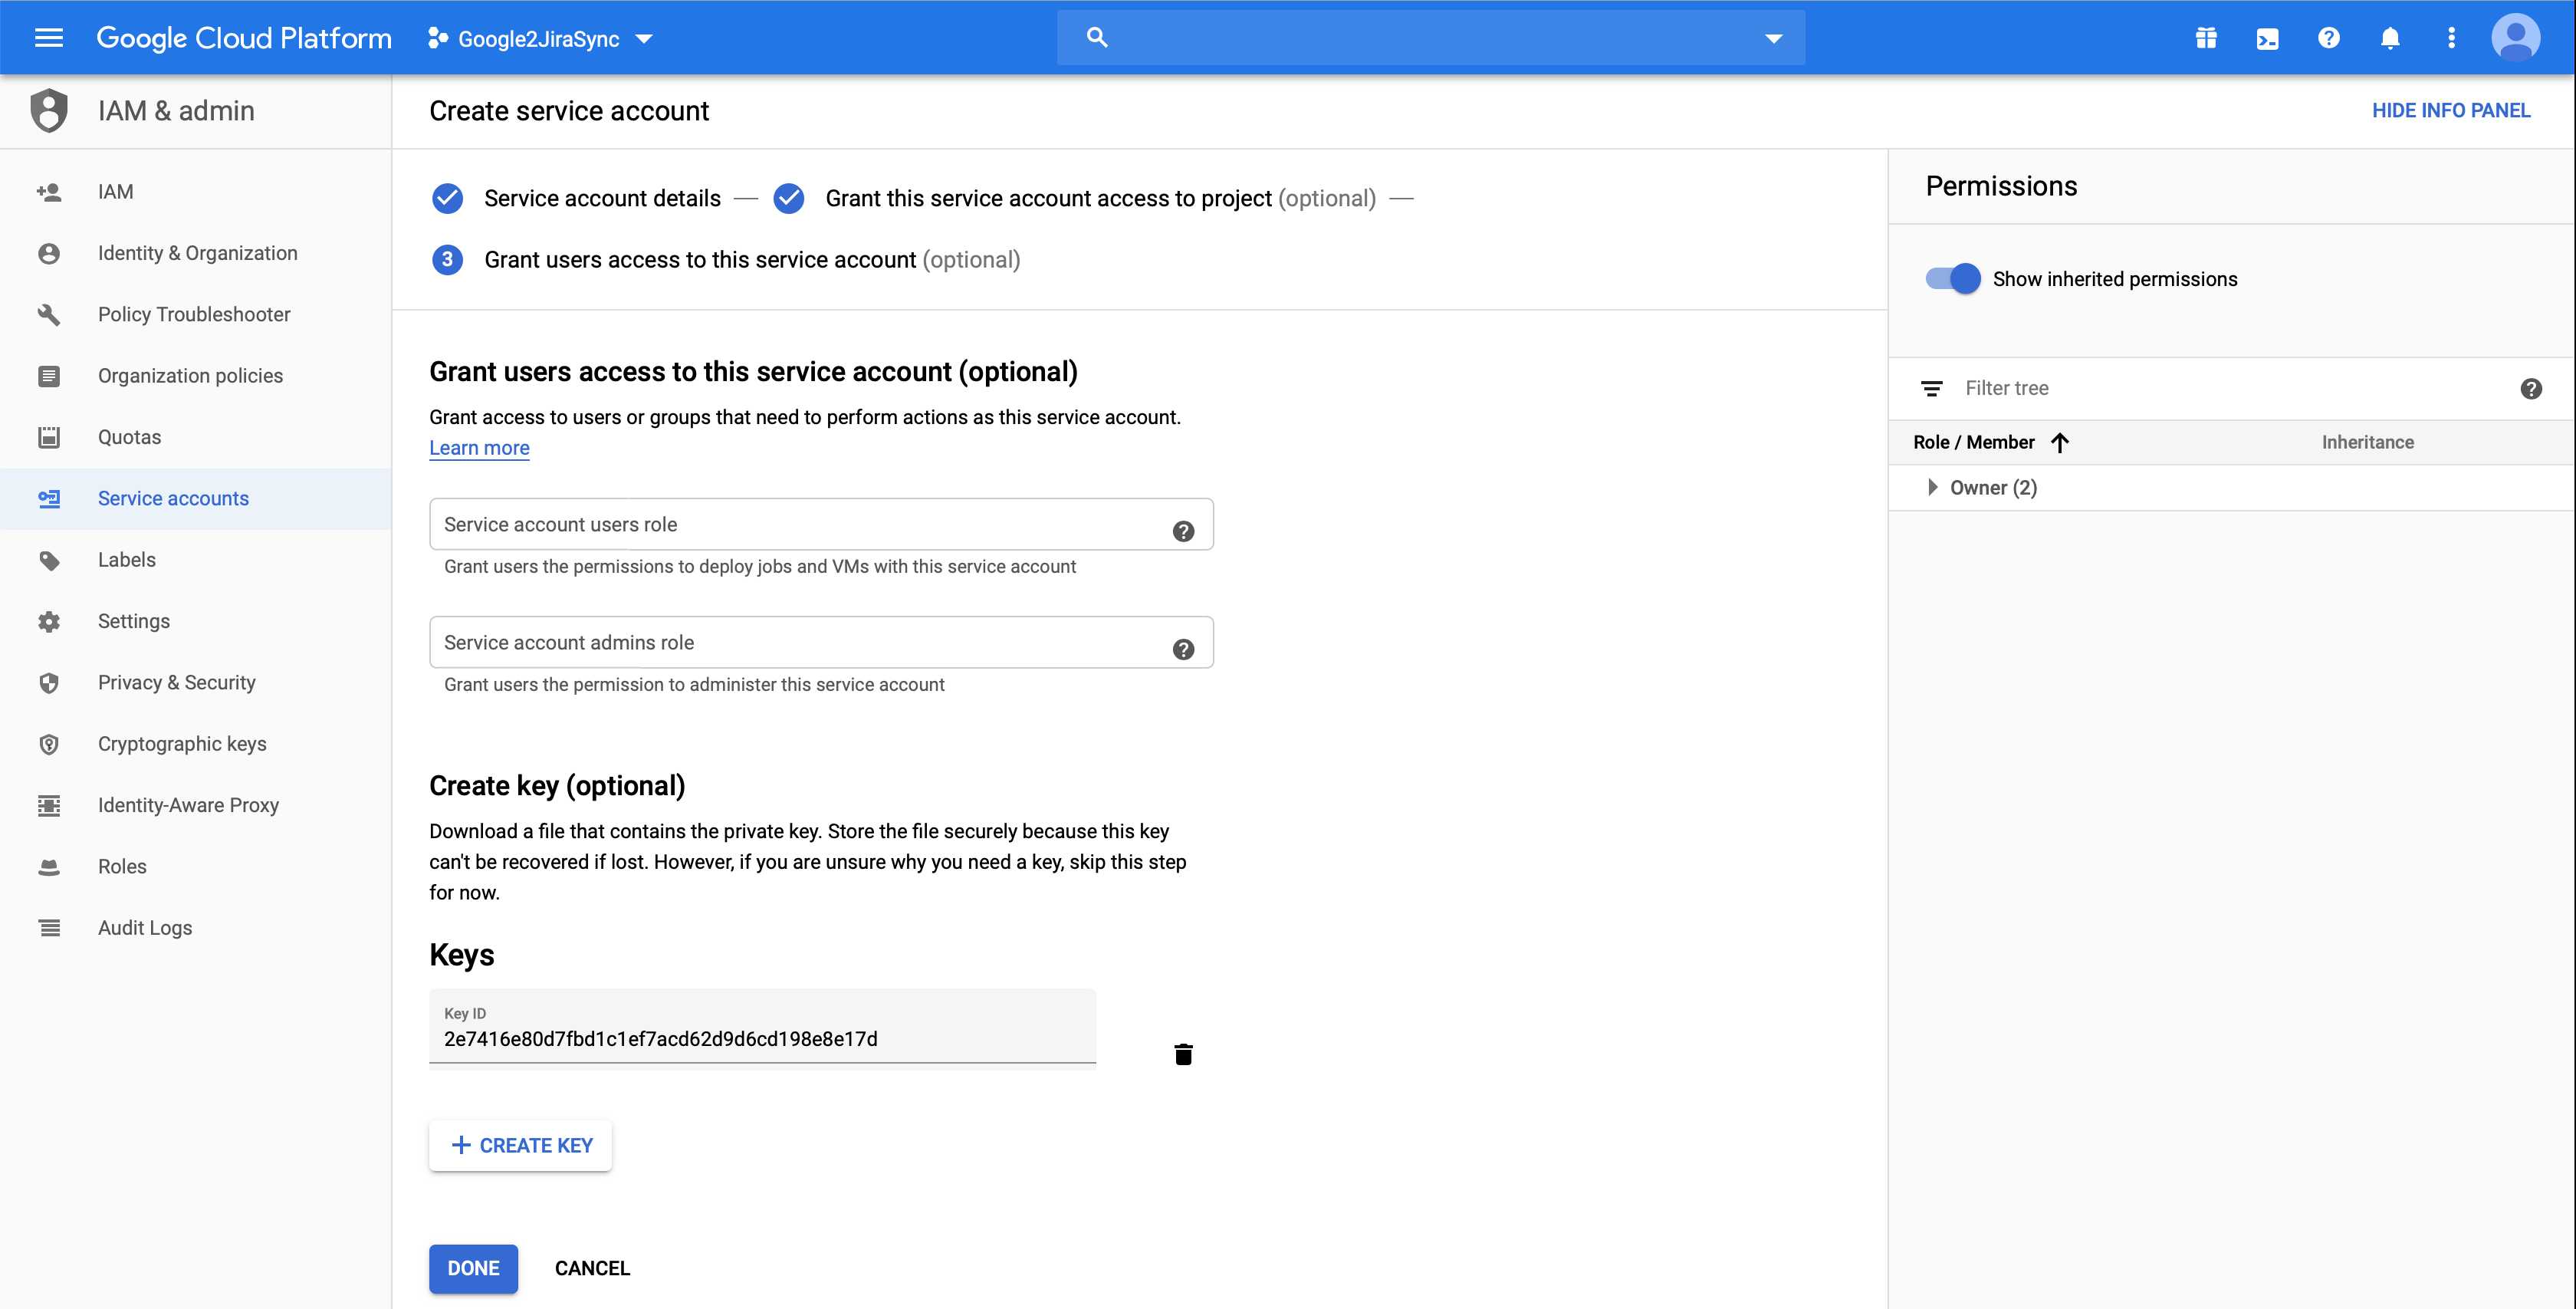
On the user access grants screen, skip the section labeled Grant users access to this service account (optional) and proceed to the Create key (optional) section. Click on the Create Key button to display the key creation dialog.

In the key creation dialog, tick the radio button for the JSON key type, and then click the Create button.
You will be prompted to save the new key to your machine. Accept the file and make a note of its location on your machine. This is the file that needs to be uploaded in the Configure the Add-on sectionsection later.


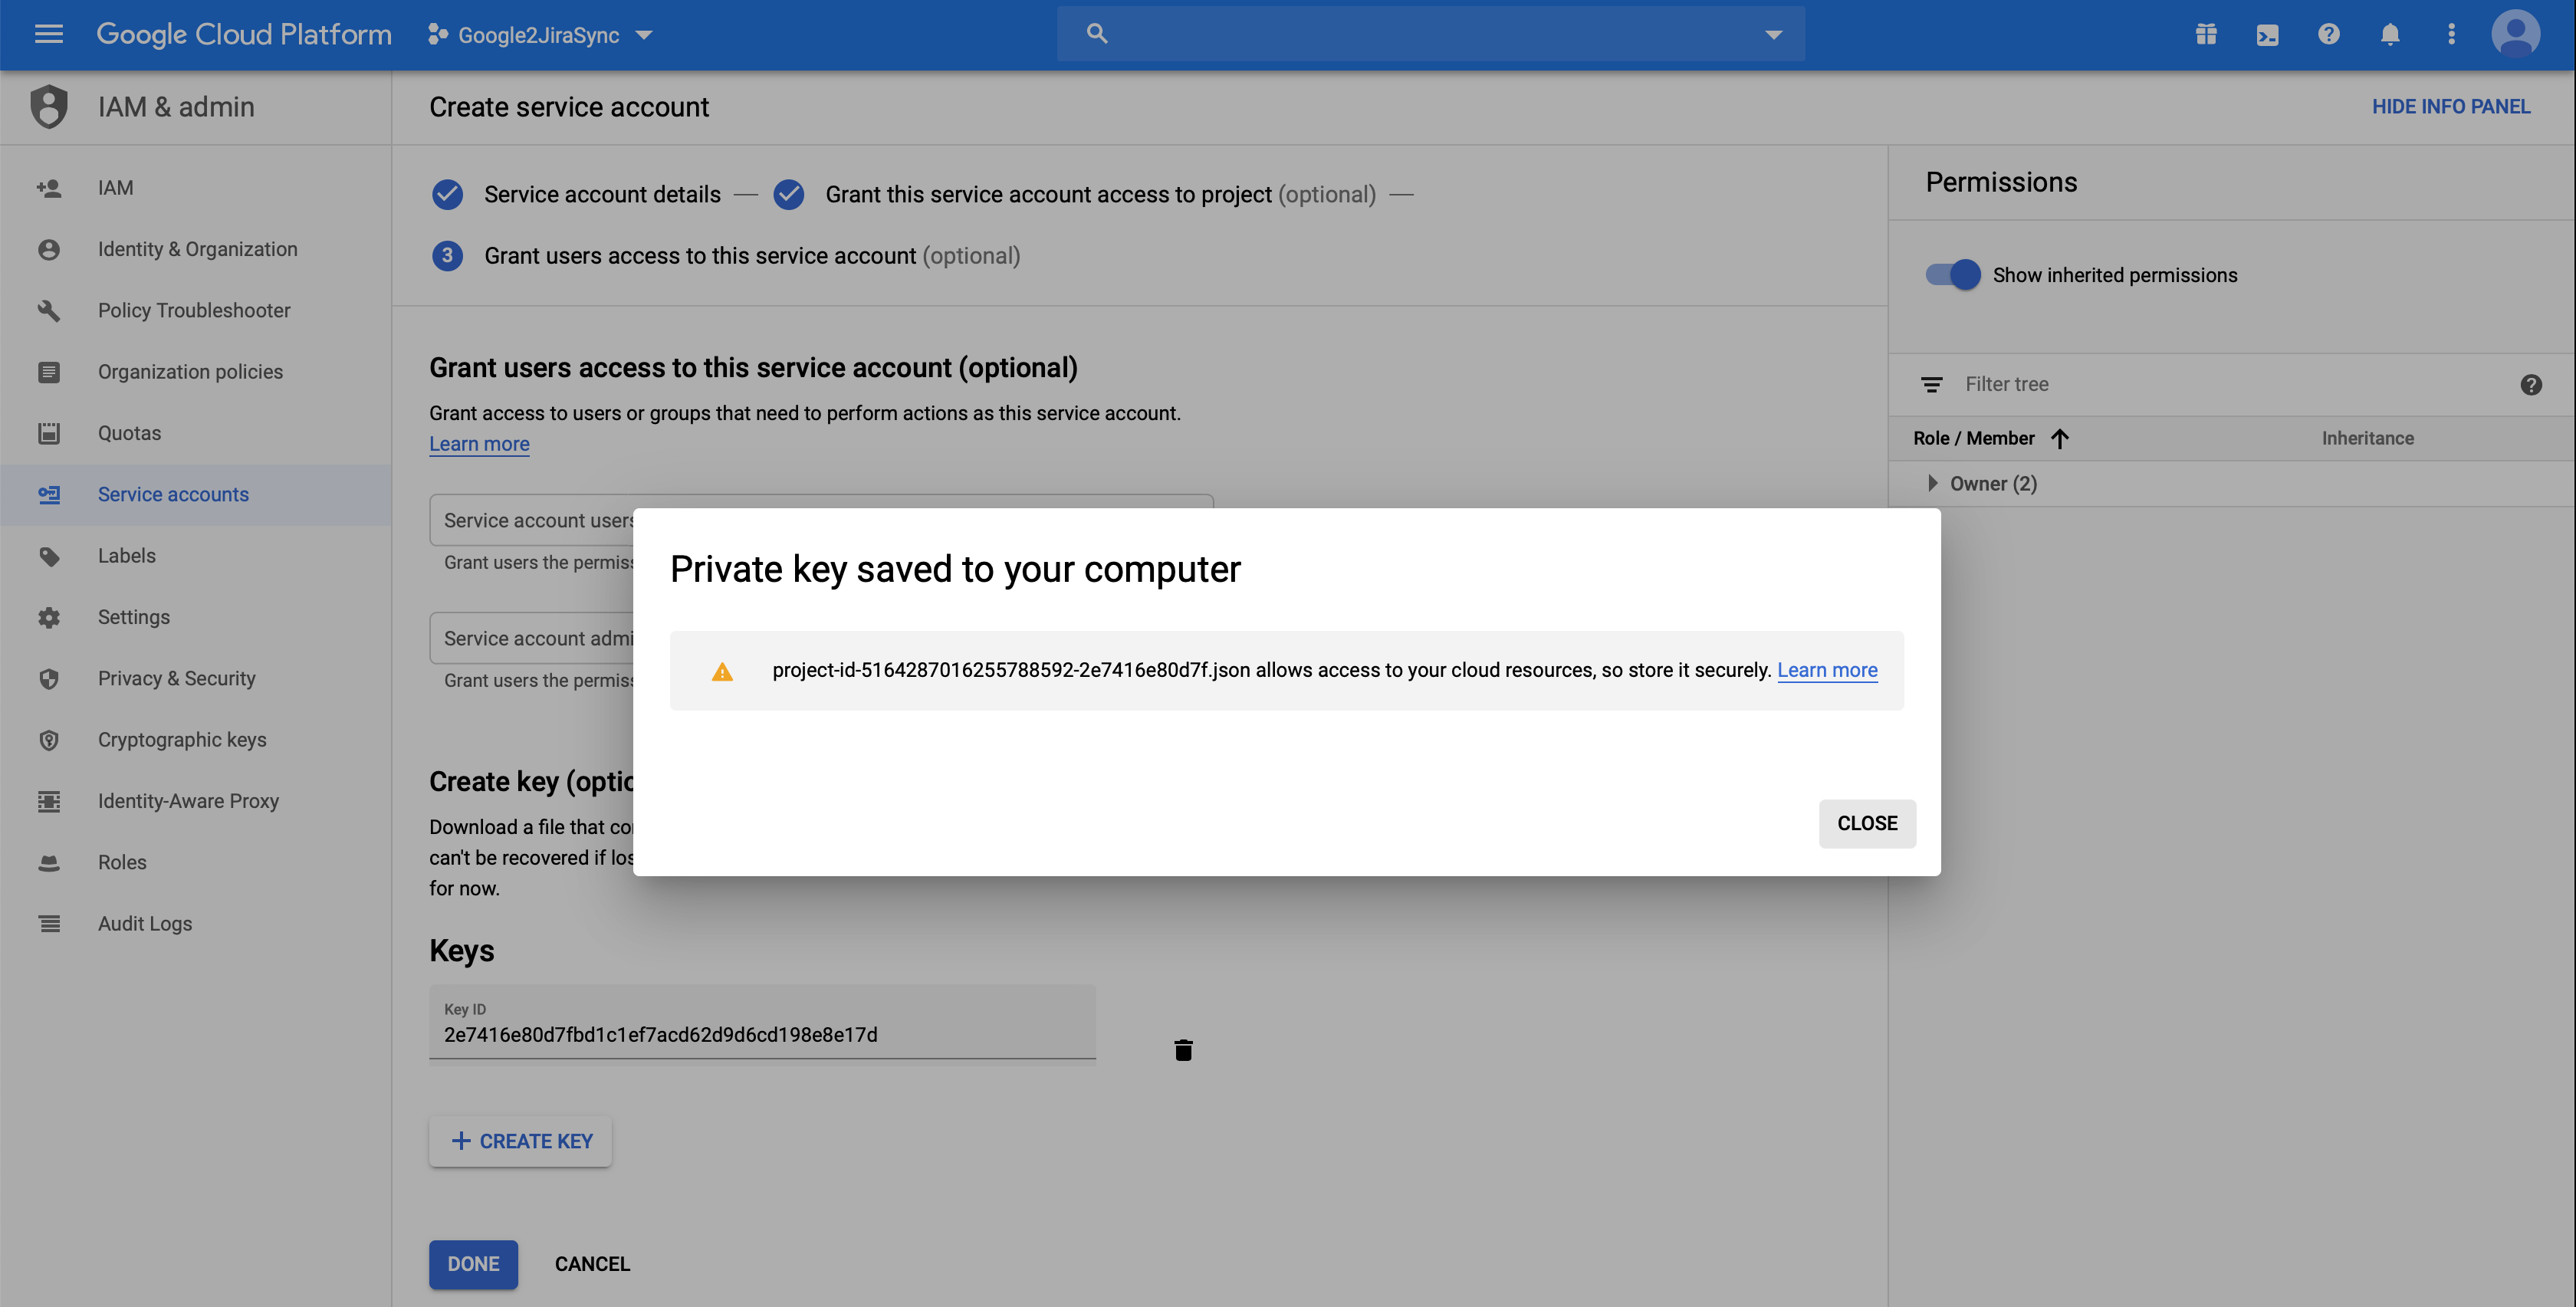
Close the Private key saved to your computer dialog to return to the main screen. You should see your new key ID in the Keys section. When you are finished, click on the Done button at the bottom of the screen.
After clicking the Done button you will be brought back to the service account listing screen. You should now see your new service account and key ID listed with a green checkmark in the Status column.

Google G Suite users: Ask your G Suite administrator to enable Google Drive API and Google Sheets API access within your G Suite, and then continue to the Configure the Add-on section below. All other users: Continue to the Configure the Add-on section below.
...