Installation
- MobilityStream Team
- Ray Rarey
The Google Sheet Integration Jira add-on lets you effortlessly export an issue list from issue searches to Google Sheets. Follow the installation instructions below or this video tutorial.
Install the Add-On
- Log into your Jira instance as an admin.
- Click the admin dropdown and choose Add-ons. The Find new add-ons screen loads.
- Locate Google Sheets Integration.
- Click Free trial to download and install your add-on.
- You're all set! Click Close in the Installed and ready to go dialog.
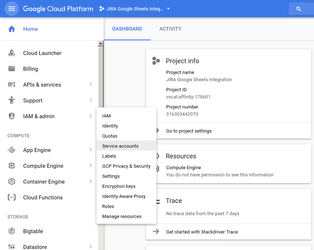
Configure the Google API Project
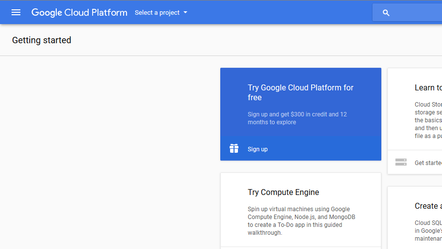
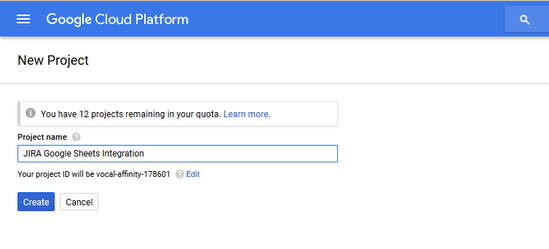
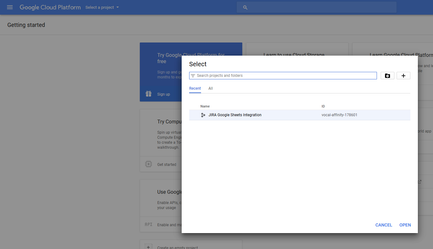
Create a Google API Project by clicking on Select a project, and then the New Project button in the dialog. Provide it a name such as JIRA Google Sheets Integration. You will need to log in with the Google Account that you want the Google Sheets to be associated with.

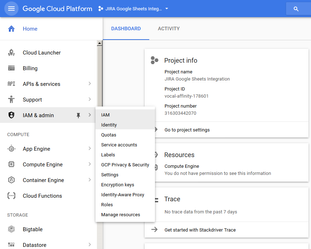
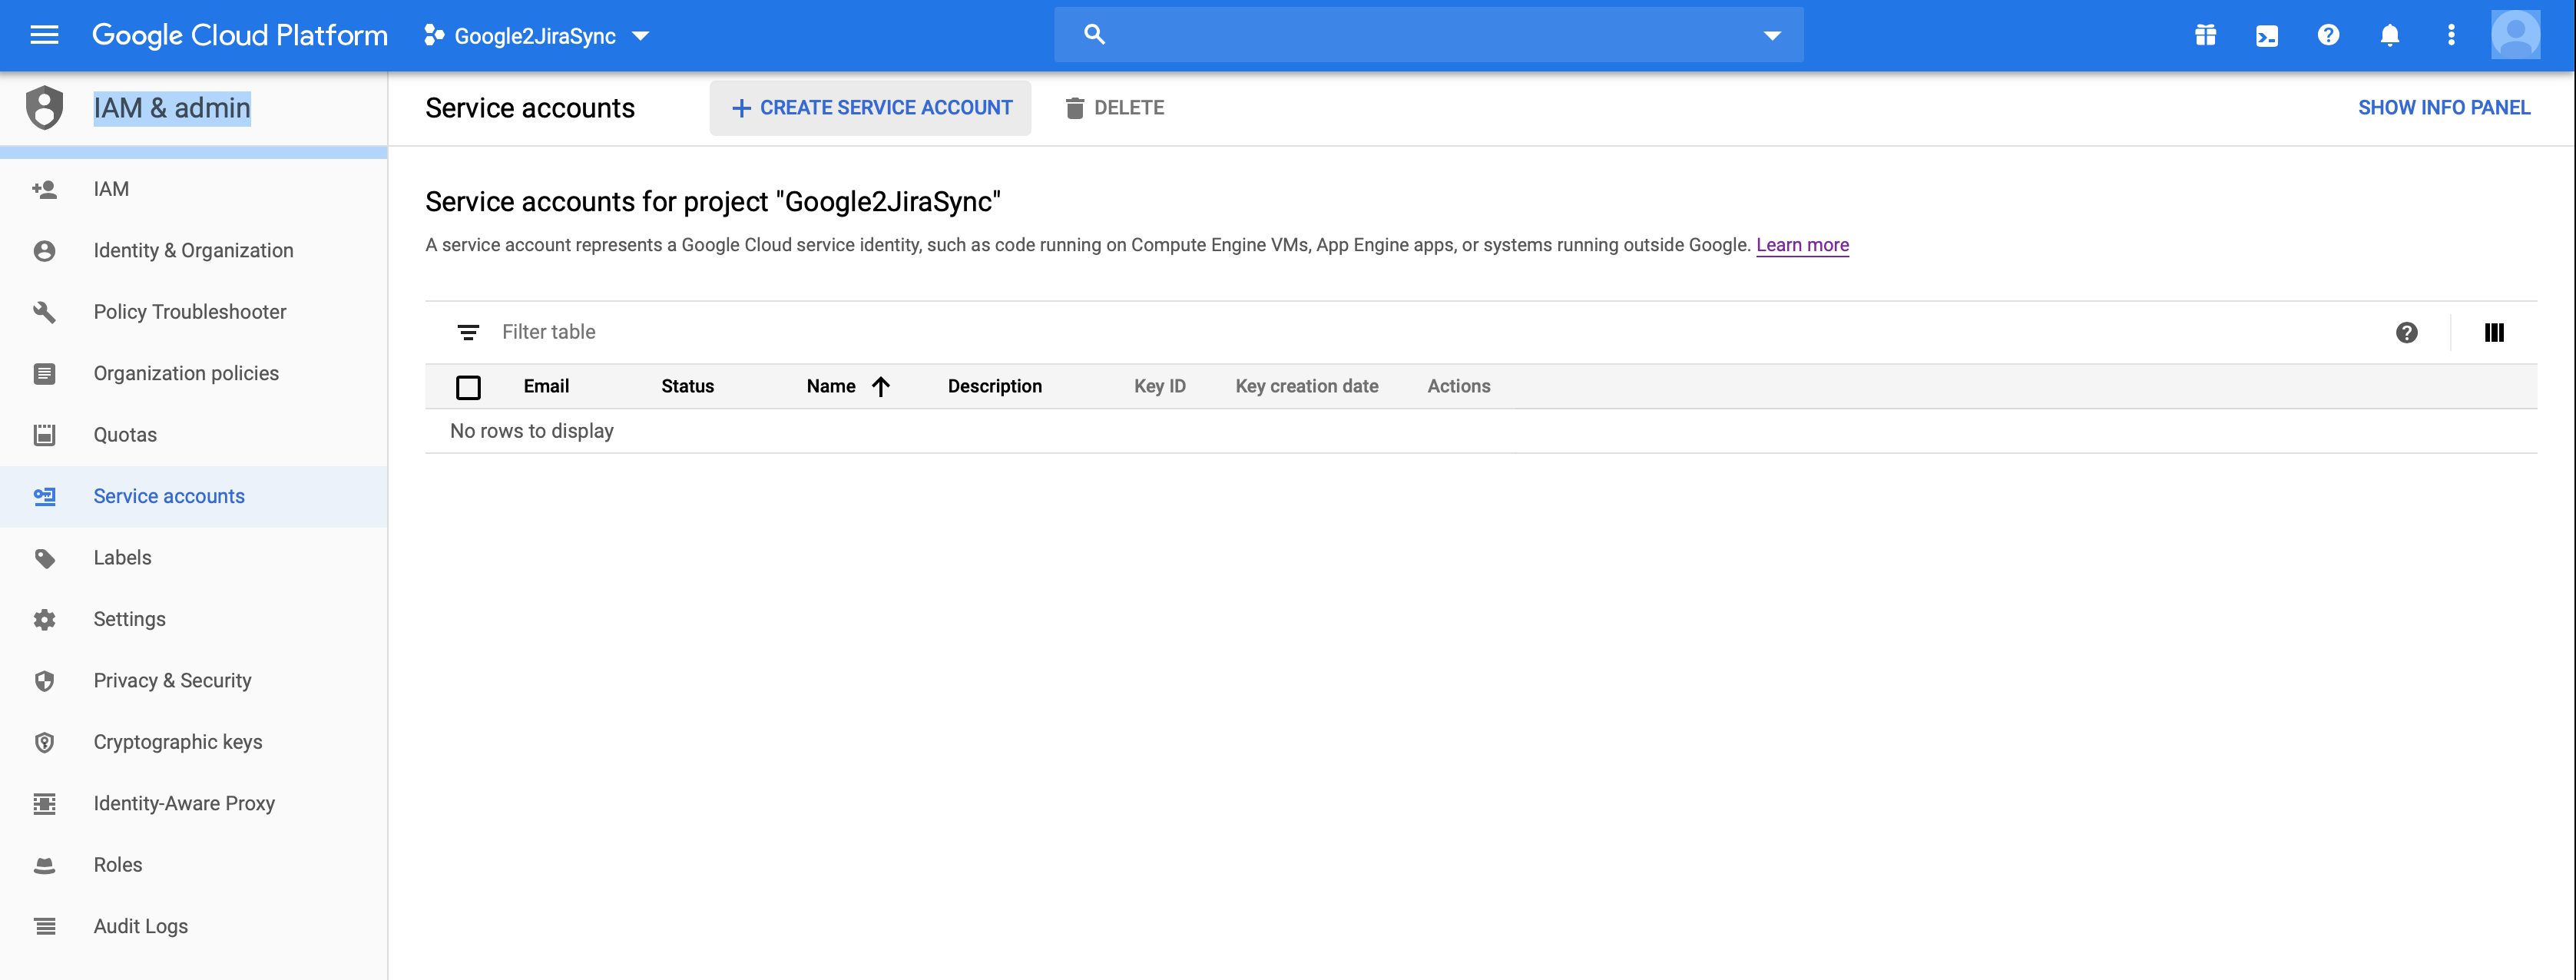
Now create a Google API Service Account and associate it with the project created above. Click the Create Service Account button at the top of the screen to start the creation process.
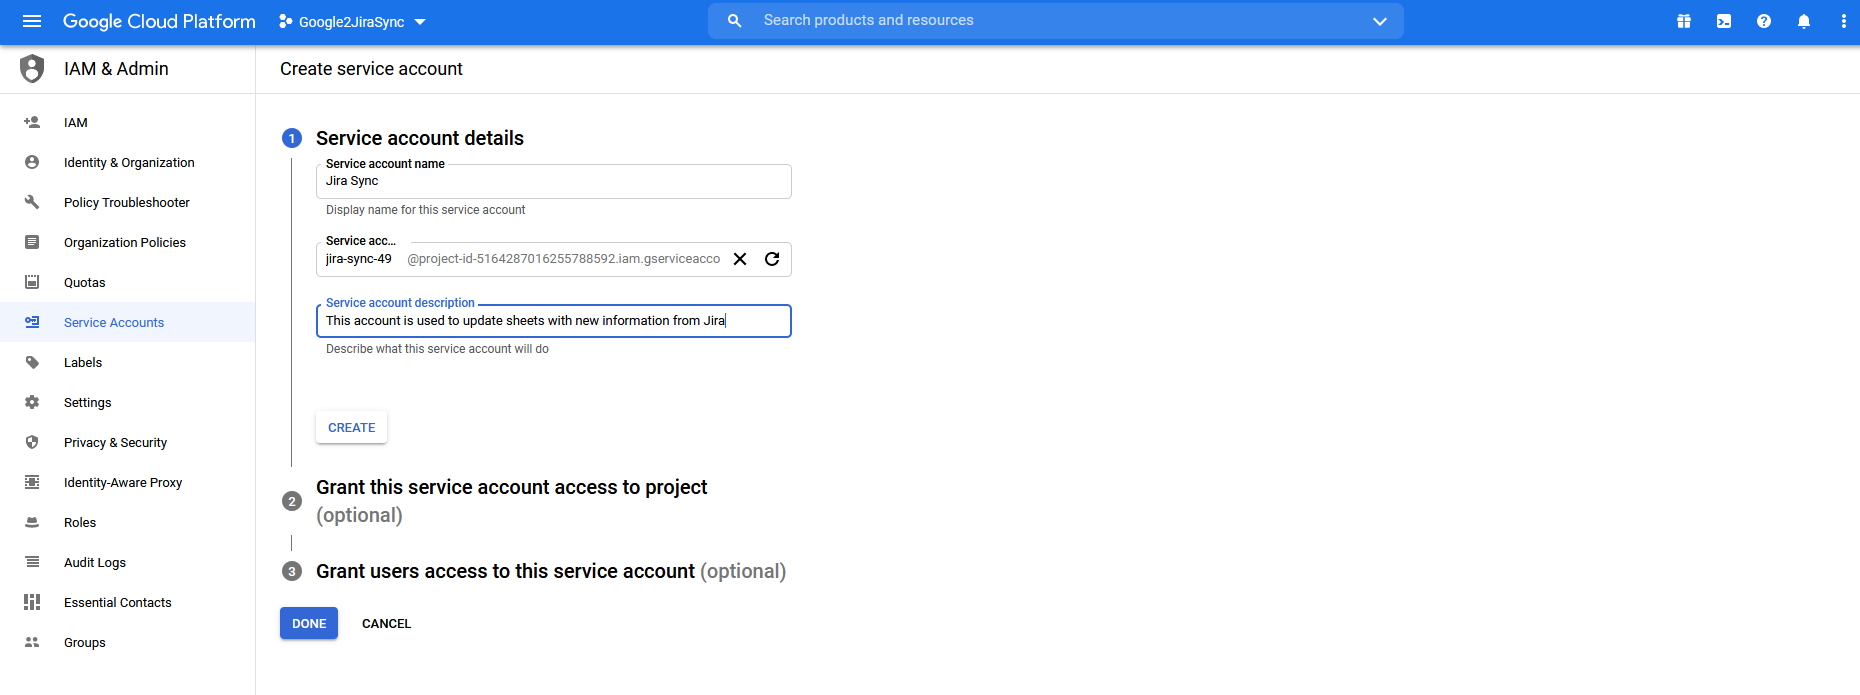
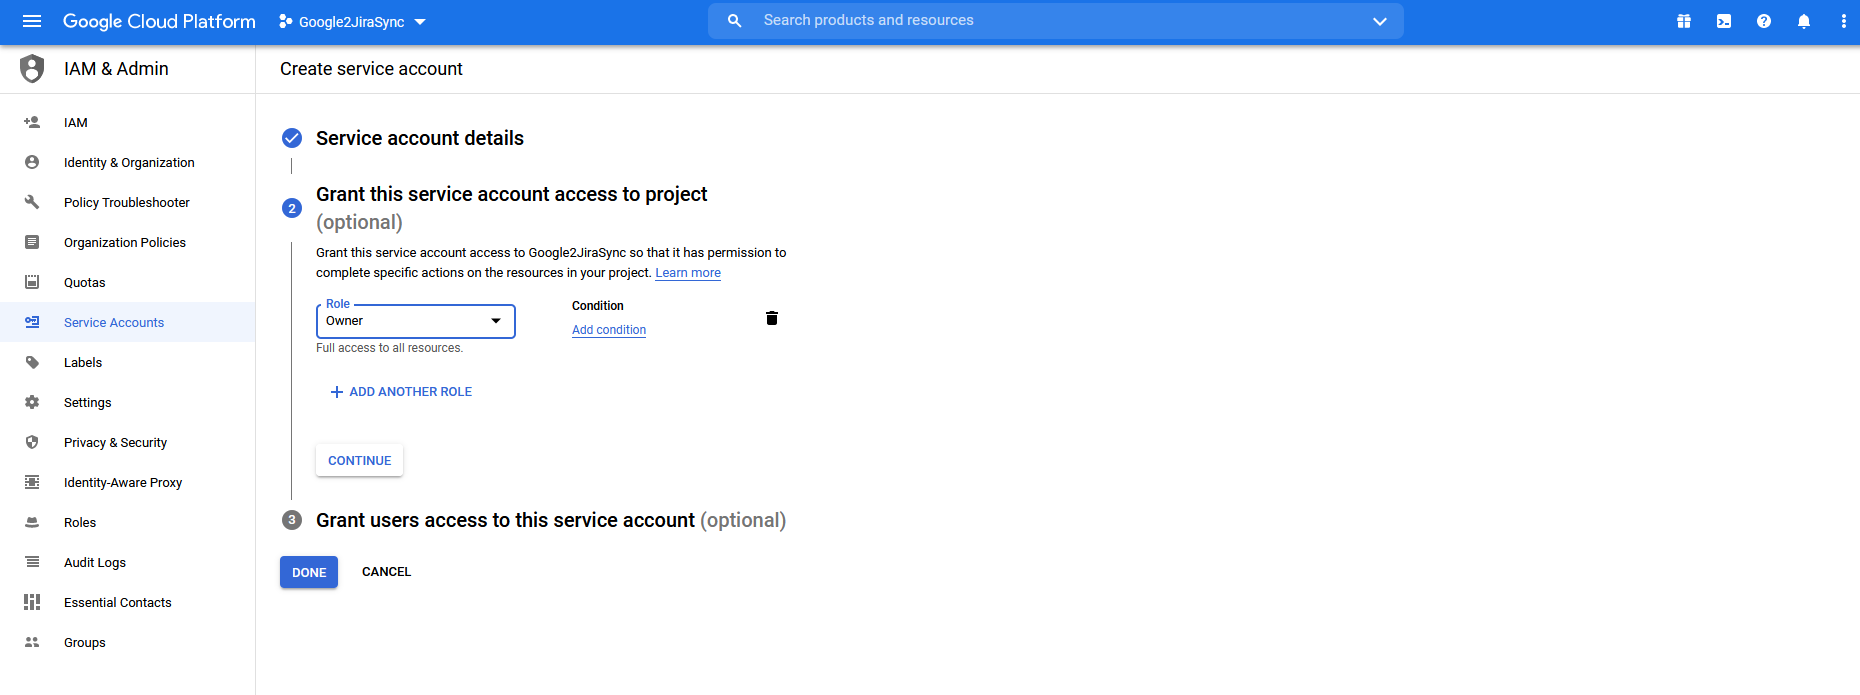
On the Create service account screen that is displayed, provide a name for your service account, and a description. These values should accurately describe what the account will do, but are not critically important. When you are finished, click the Create button below the description input to move the service account grants step (2).
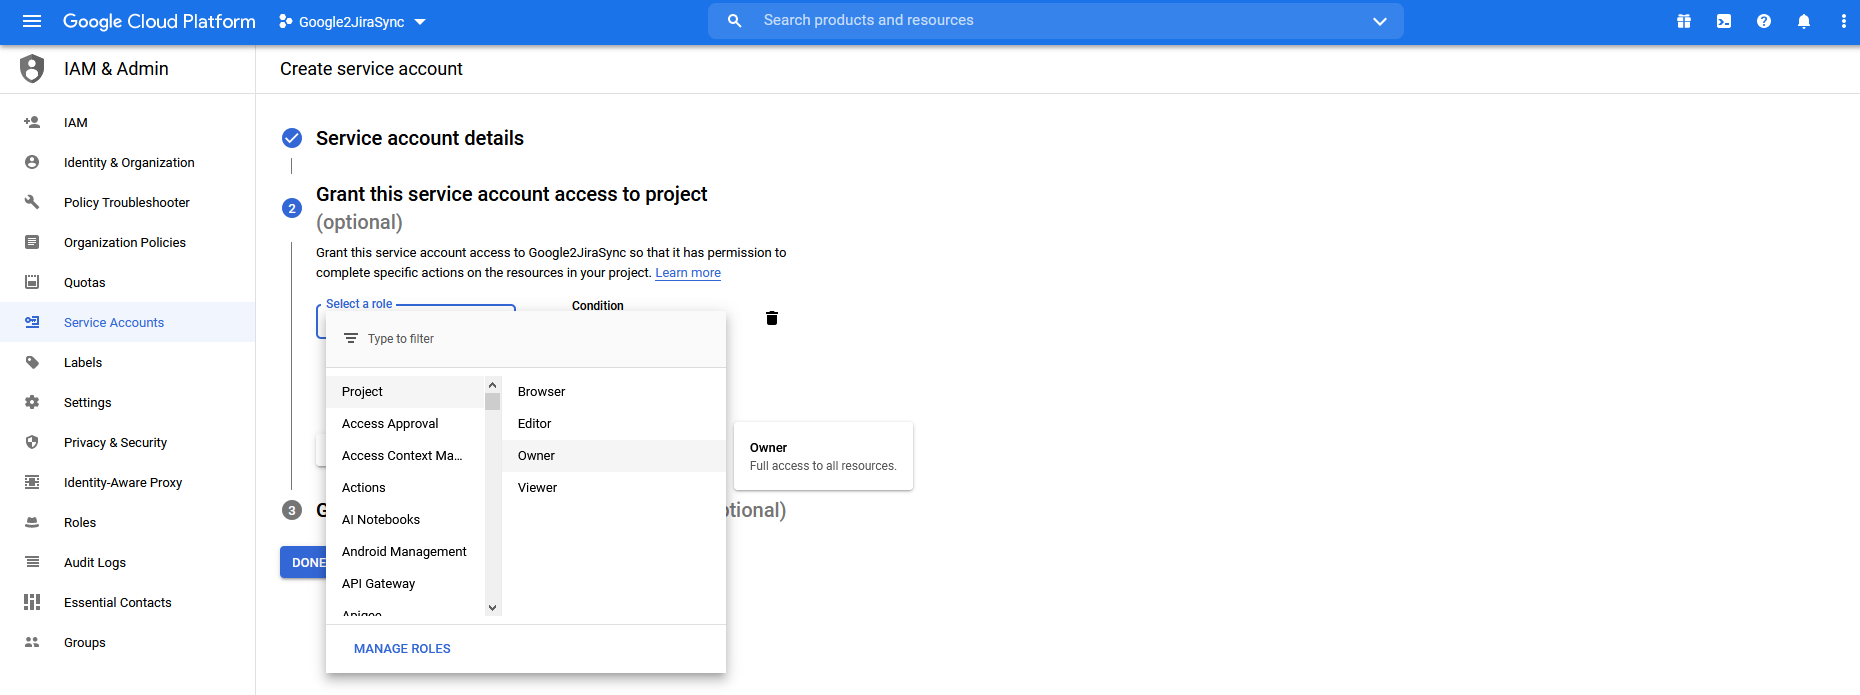
On the next screen, click in the Select a role area to display the role selection dialog. Give your new service account a role of Project->Owner.
After selecting the appropriate role, click on the Done button at the bottom of the screen to finish creating the service account. The Grant users access to this service account step can be skipped.
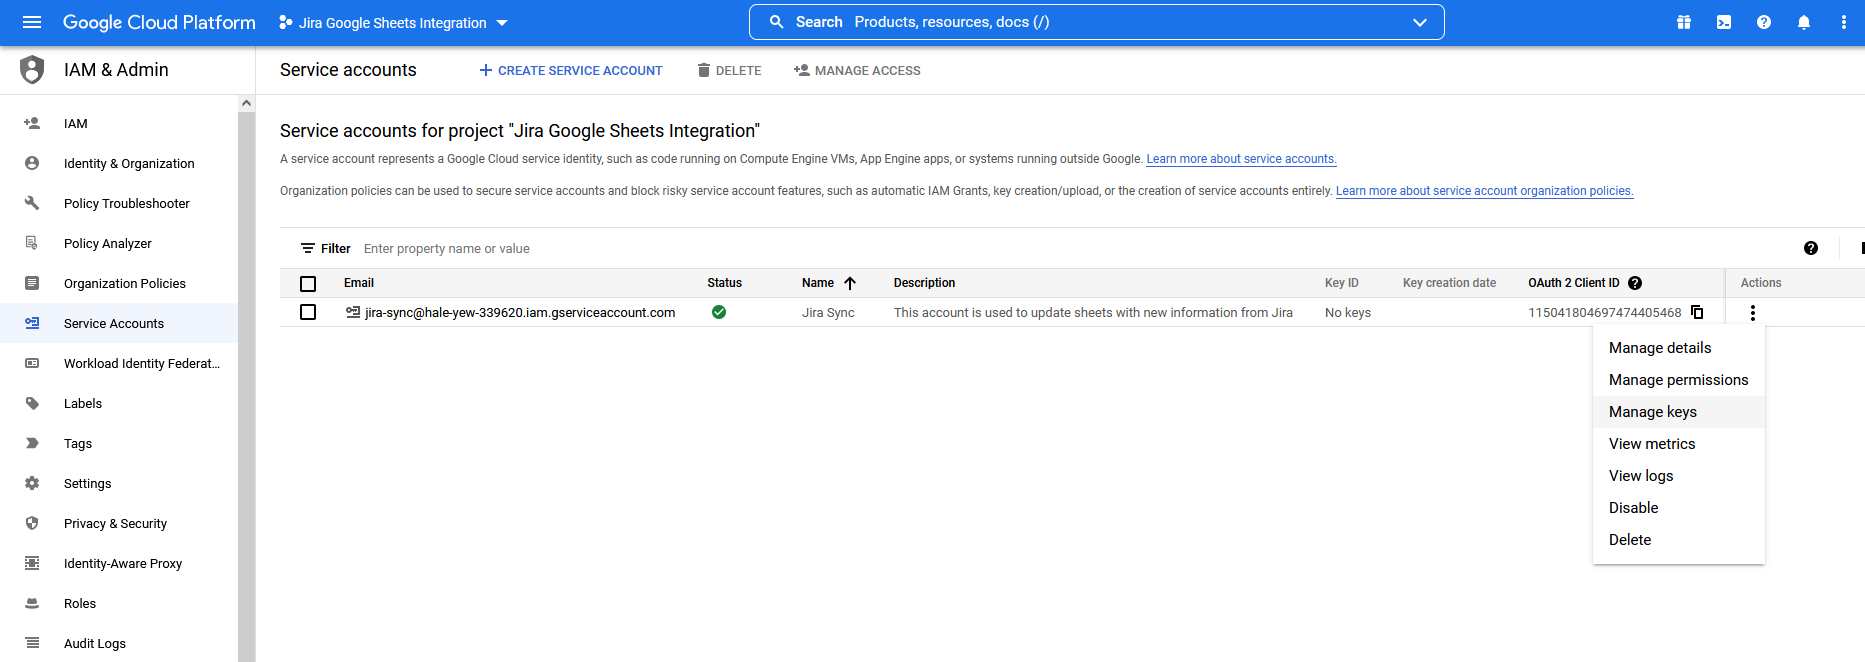
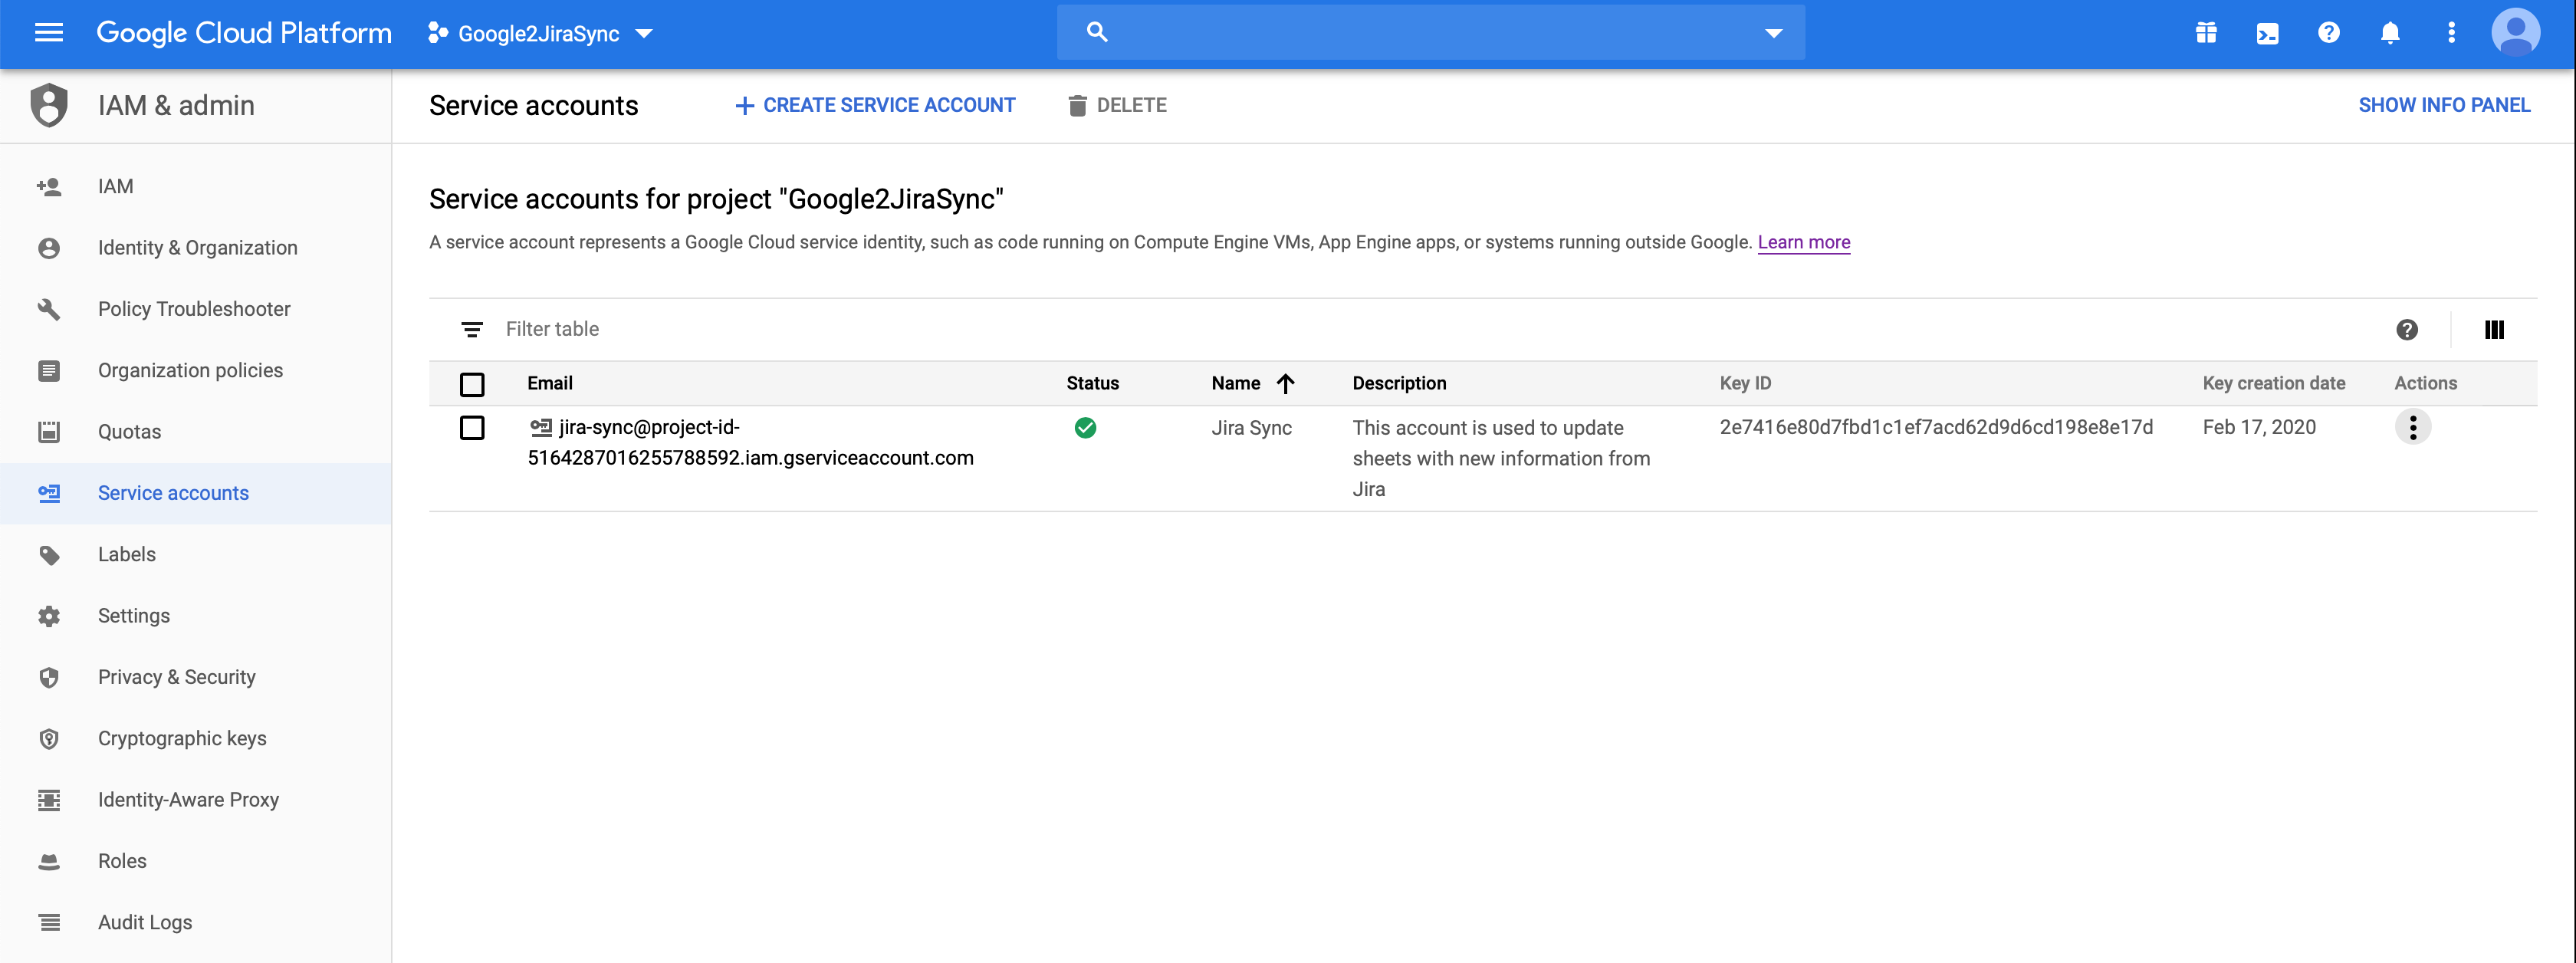
You will be returned to the Service accounts listing screen and the account you just created will be visible. In the Actions column on the far right for your account's row, click on the actions icon and select the Manage keys option.
In the key screen, find the Add Key drop down and select Create new key.
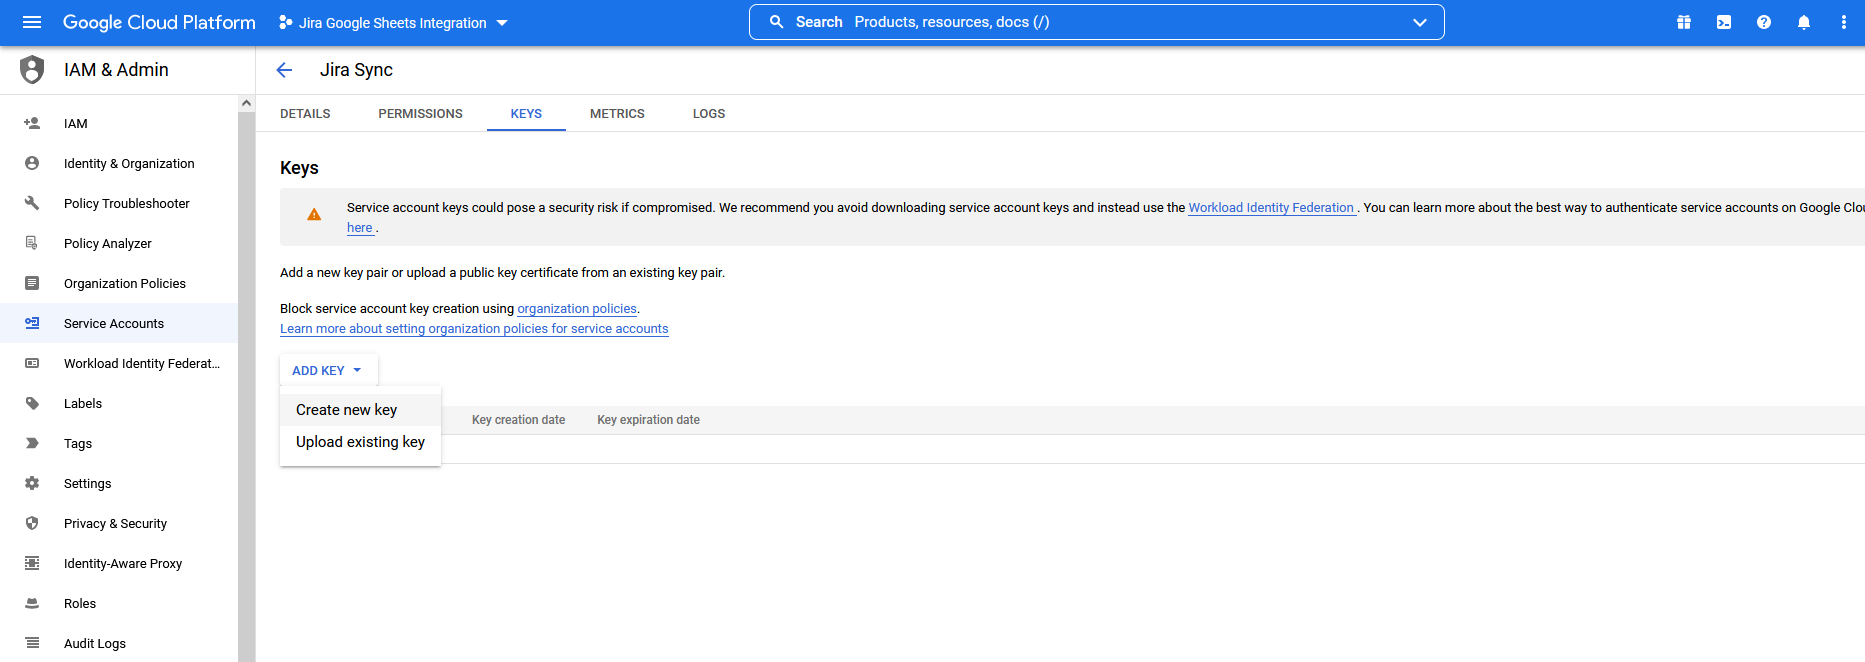
In the create key dialog that appears, tick the radio button for the JSON key type, and then click the Create button.
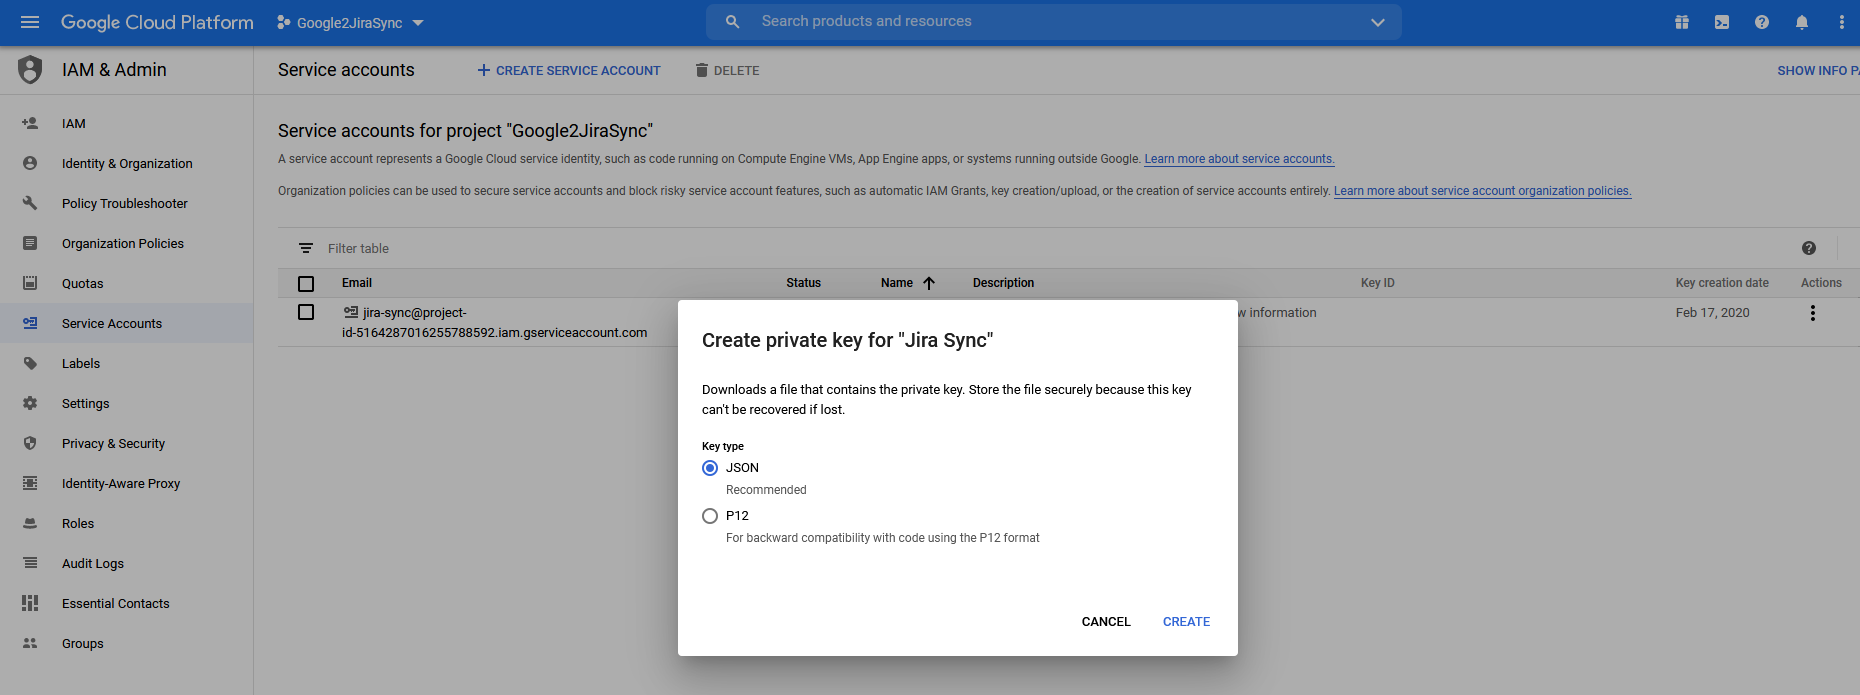
You will be prompted to save the new key to your machine. Accept the file and make a note of its location on your machine. This is the file that needs to be uploaded in the Configure the Add-on section later.
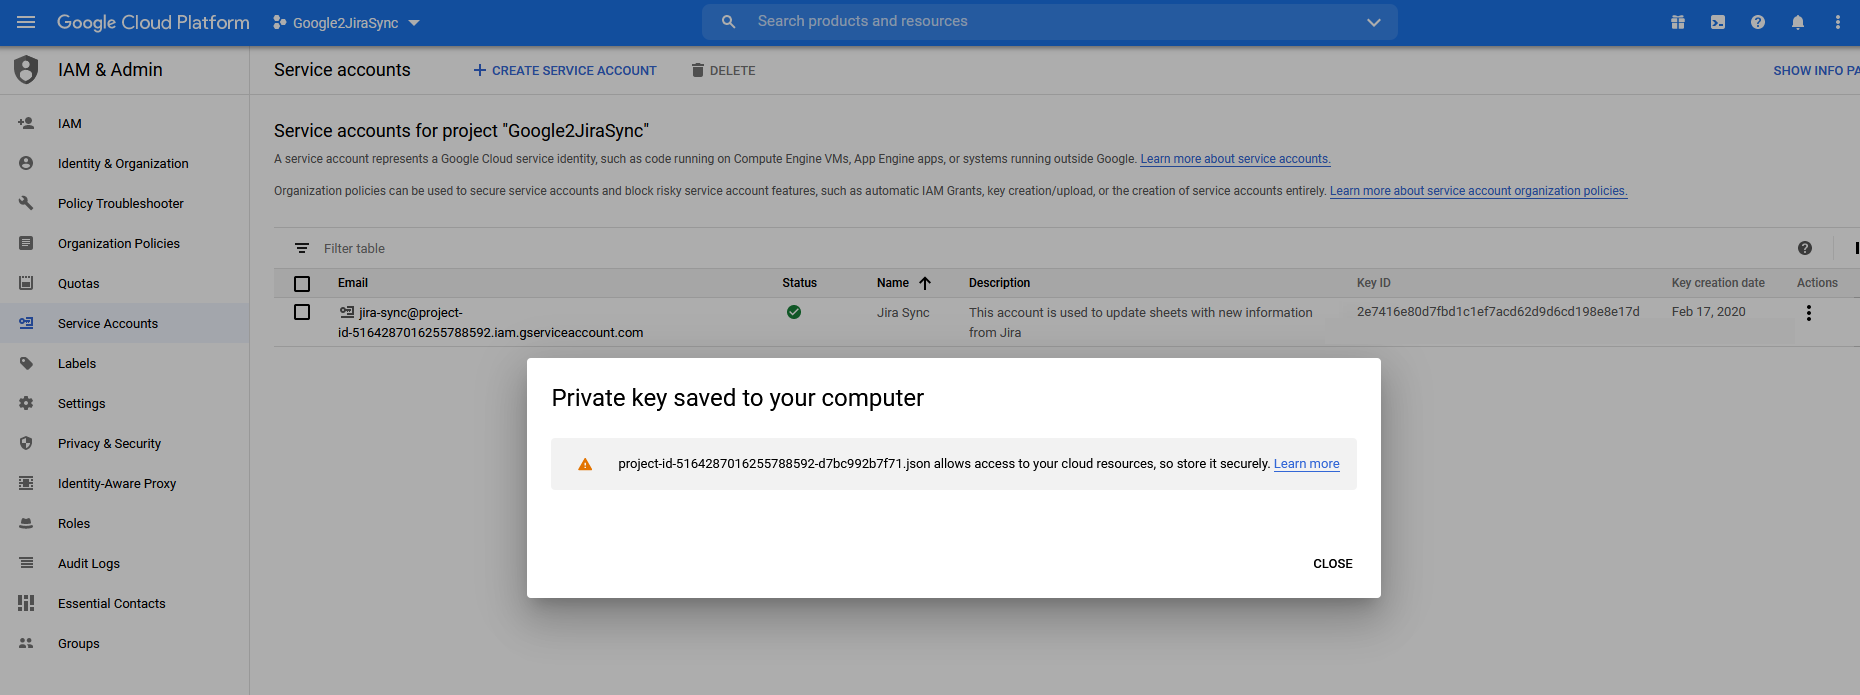
Click the Close button at the bottom right of the dialog and return to the service account listing screen by clicking the Service Accounts navigation item on the left side. You should now see your new service account and key ID listed with a green check mark in the Status column. Please contact us if something does not look correct.
Google G Suite users: Ask your G Suite administrator to enable Google Drive API and Google Sheets API access within your G Suite, and then continue to the Configure the Add-on section below. All other users: Continue to the Configure the Add-on section below.
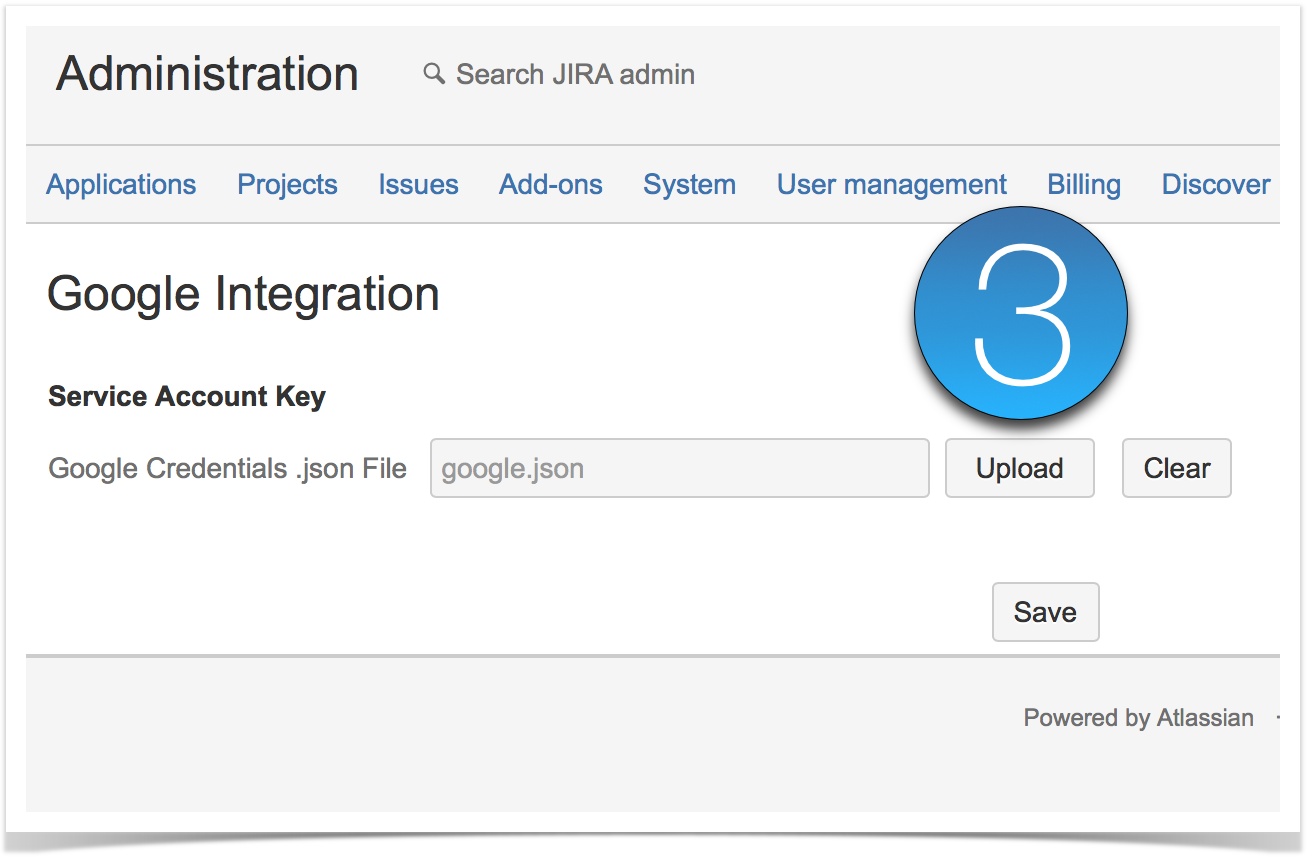
Configure the Add-On
To use the integration, you have to configure the add-on and upload the Google credentials that were created in the previous step.
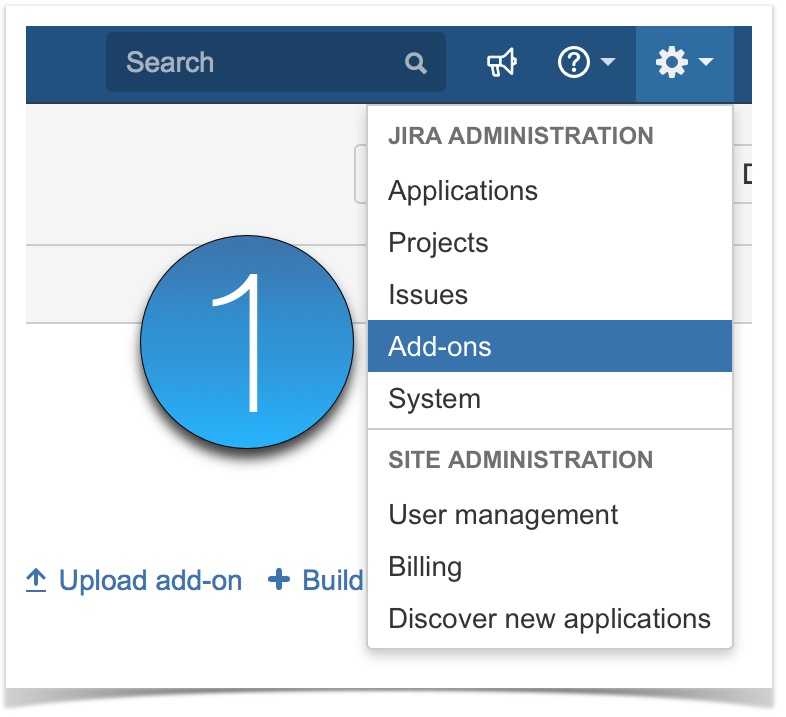
In JIRA, click on the administration gear in the top right corner and select Add-ons.
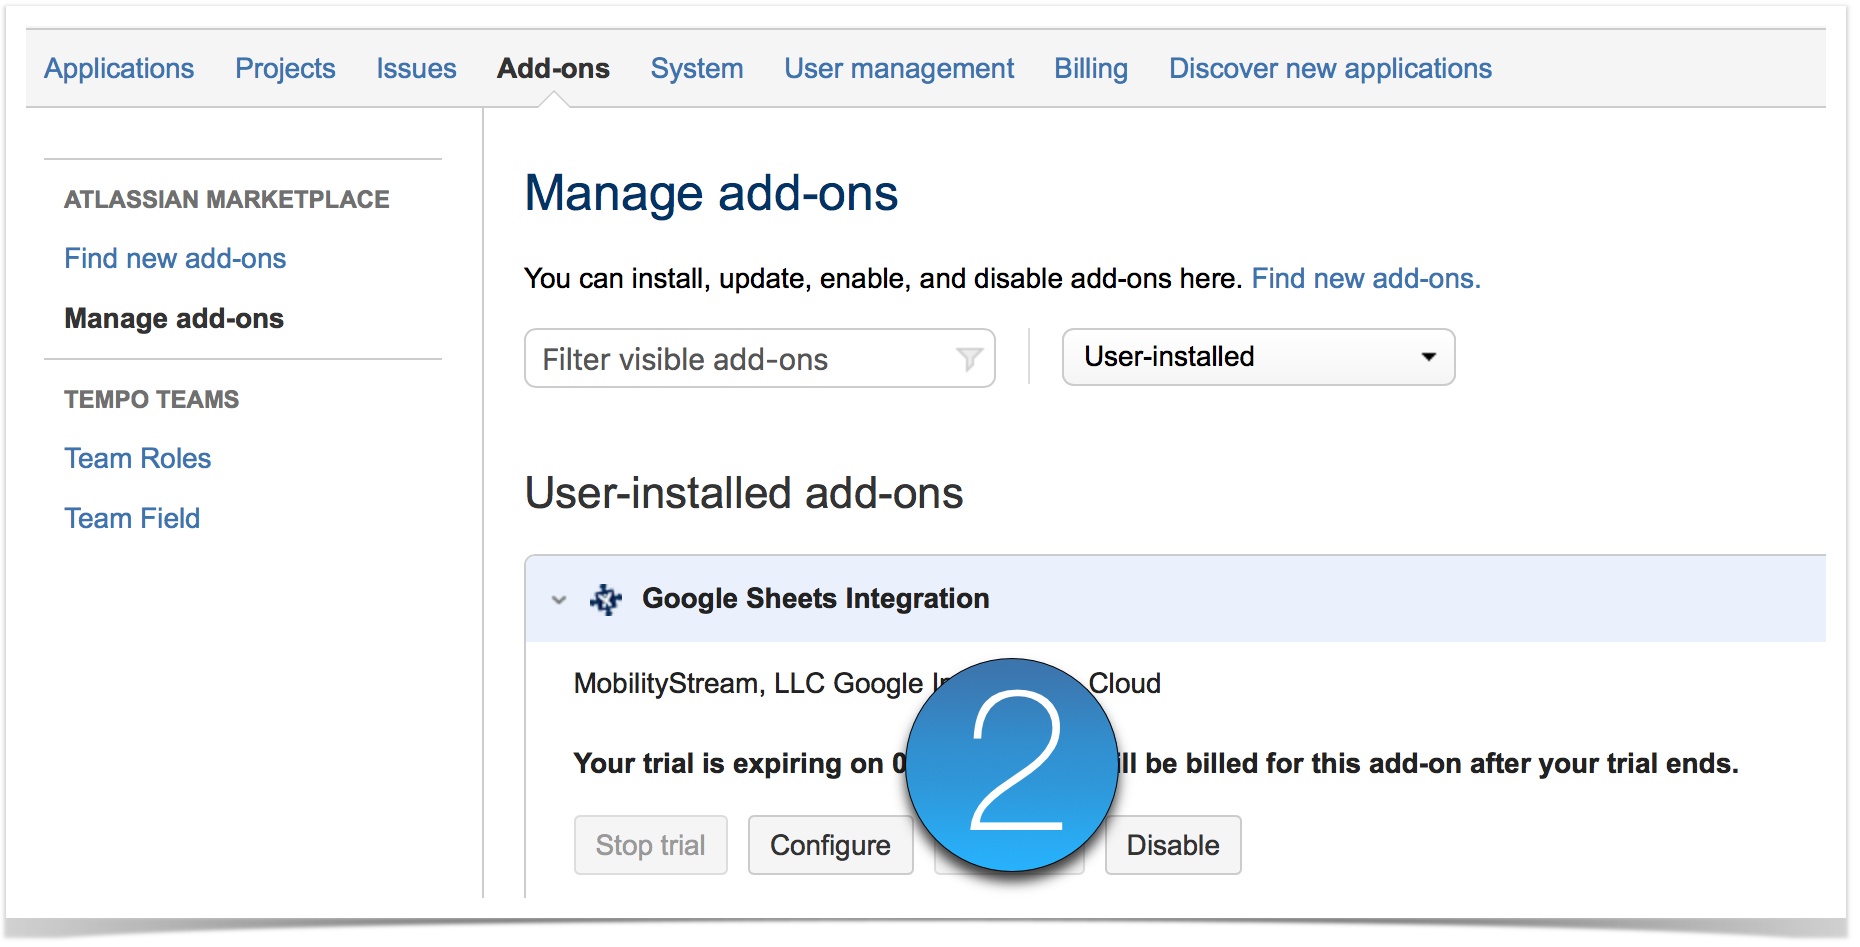
Go to Manage add-ons and search for the Google Sheets Integration add-on in the list of installed add-ons. Then click on the Configure button.
Now you are able to upload the .json file that was created in the previous Configure the Google API steps. Click the Upload button, select the credentials file to upload and then click the Save button to save the file.
Now that setup is complete, continue to the Jira Add-On Configuration page for more information on configuring the add-on.