...
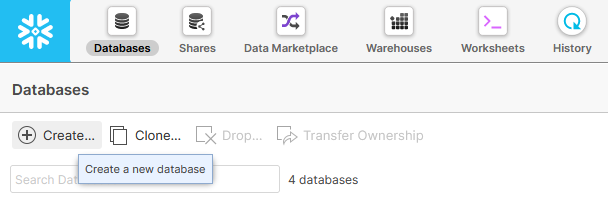
- Log in to Snowflake, click on the Databases icon in the top left, and then click on the Create icon beneath it.
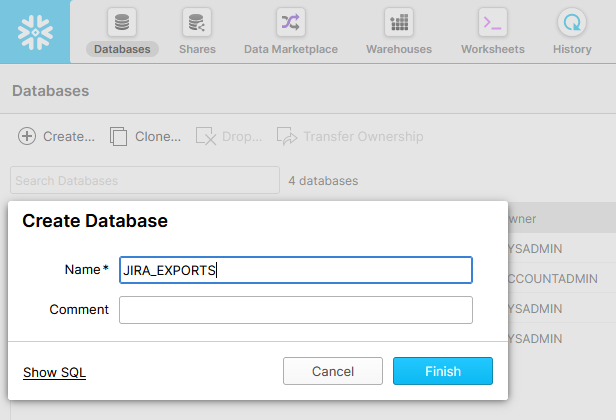
- Supply a name for your new database, and click Finish.
Next, make sure that your new database as a "PUBLIC" schema, and make sure that you have the user credentials necessary to access and modify this database. The user will need to have the following privileges:
...
Finally, you will need your Snowflake account identifier. This information can be found in the user drop down at the top right of Snowflake. Click on your username and make a note of the account identifier as shown below:
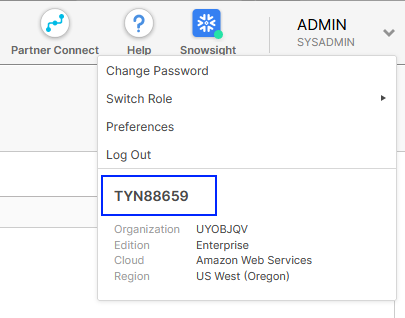
With a database, schema, user credentials, and account identifier, you're ready to move on to the next steps and configure the Jira add-on.
...